Create select fields with special characters (CTK)
Why would I do this?
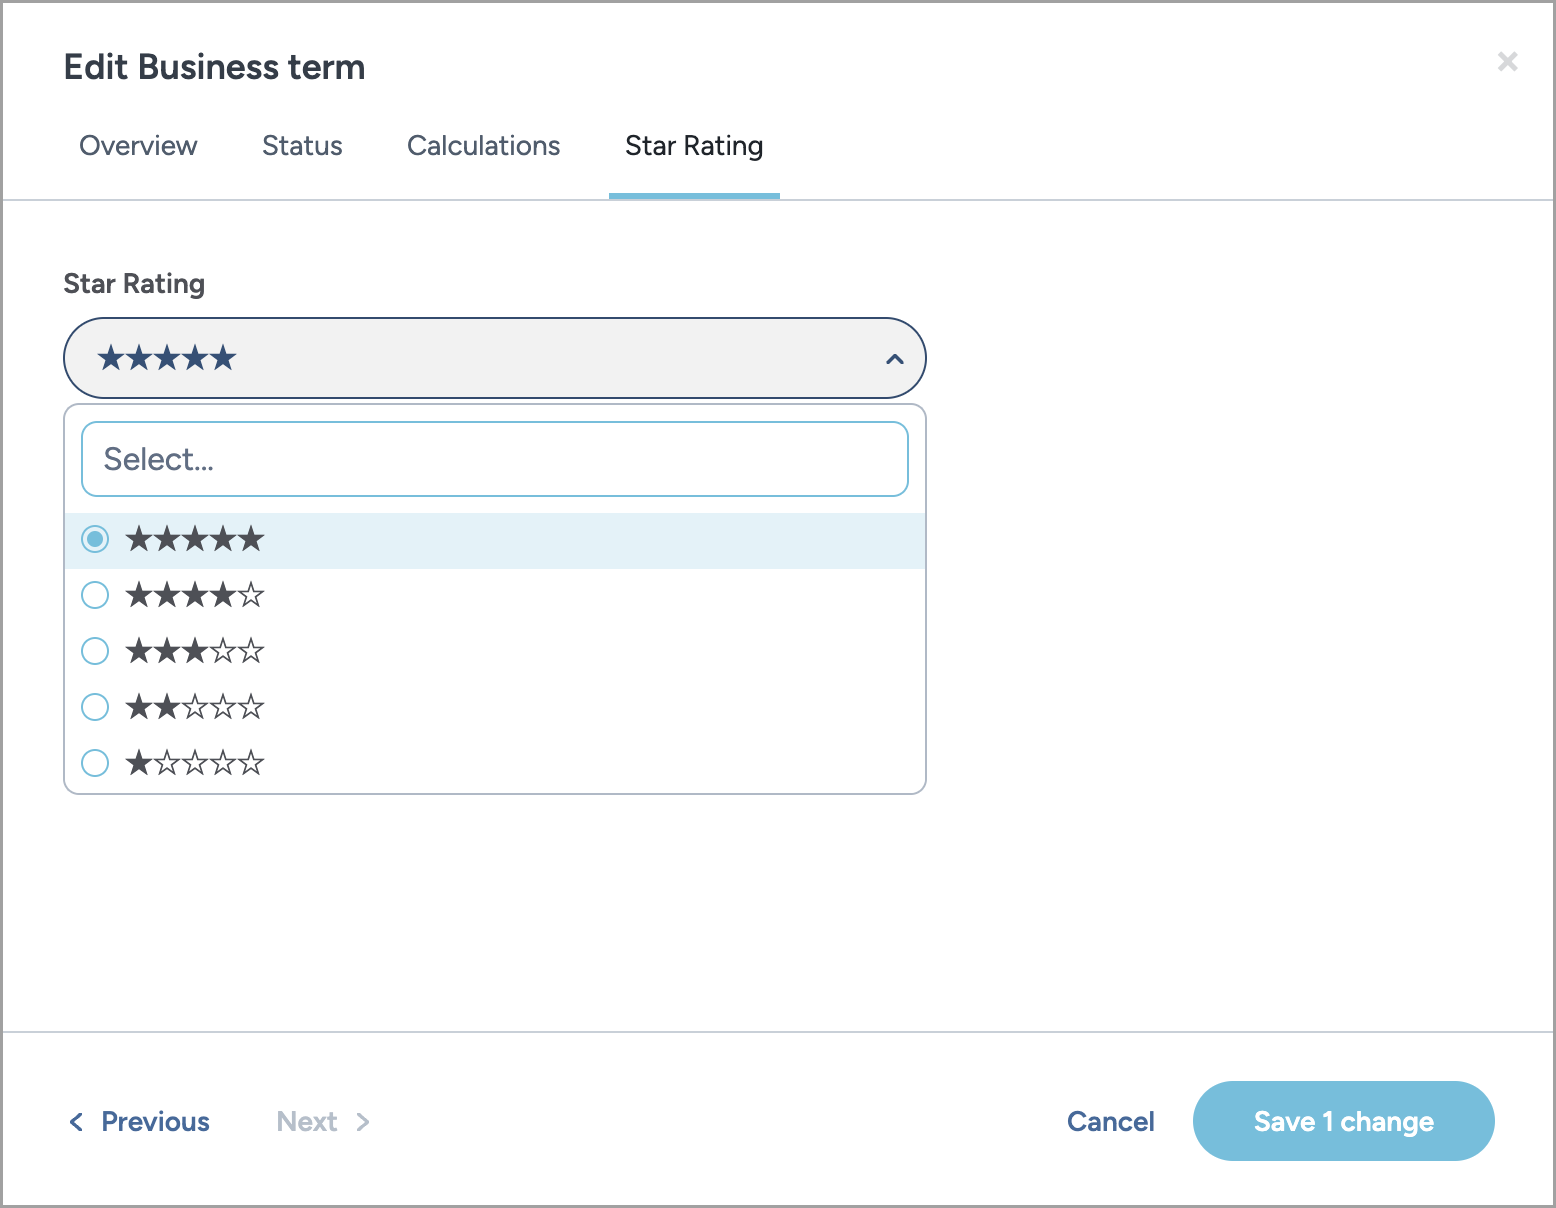
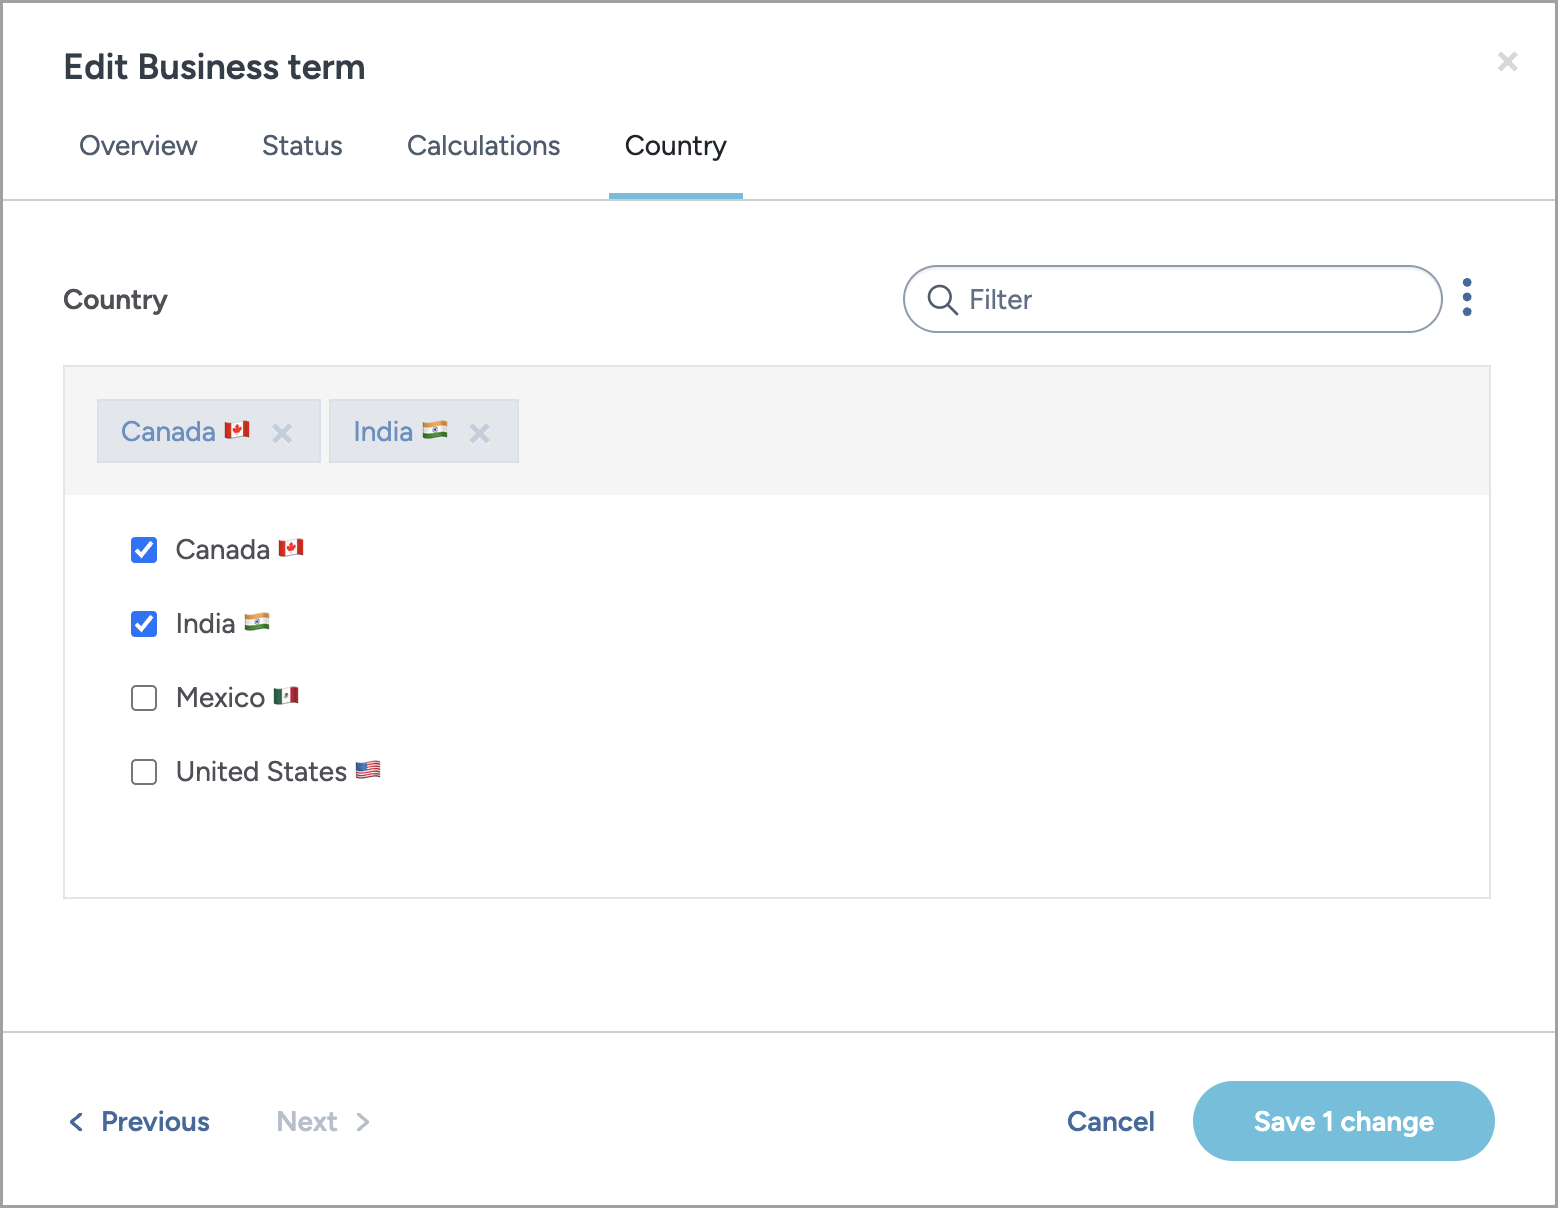
This feature allows you to add special characters to select fields, like symbols or emojis, making your metadata values more visually distinctive and informative. This is especially useful for custom ratings, statuses, or labels that add context beyond plain text.
Types of select fields with special characters
You can create three types of select field with special characters:
Single select field: where you can only select one option from the available options.

Multi select field: Where you can select more than one option from the available options.

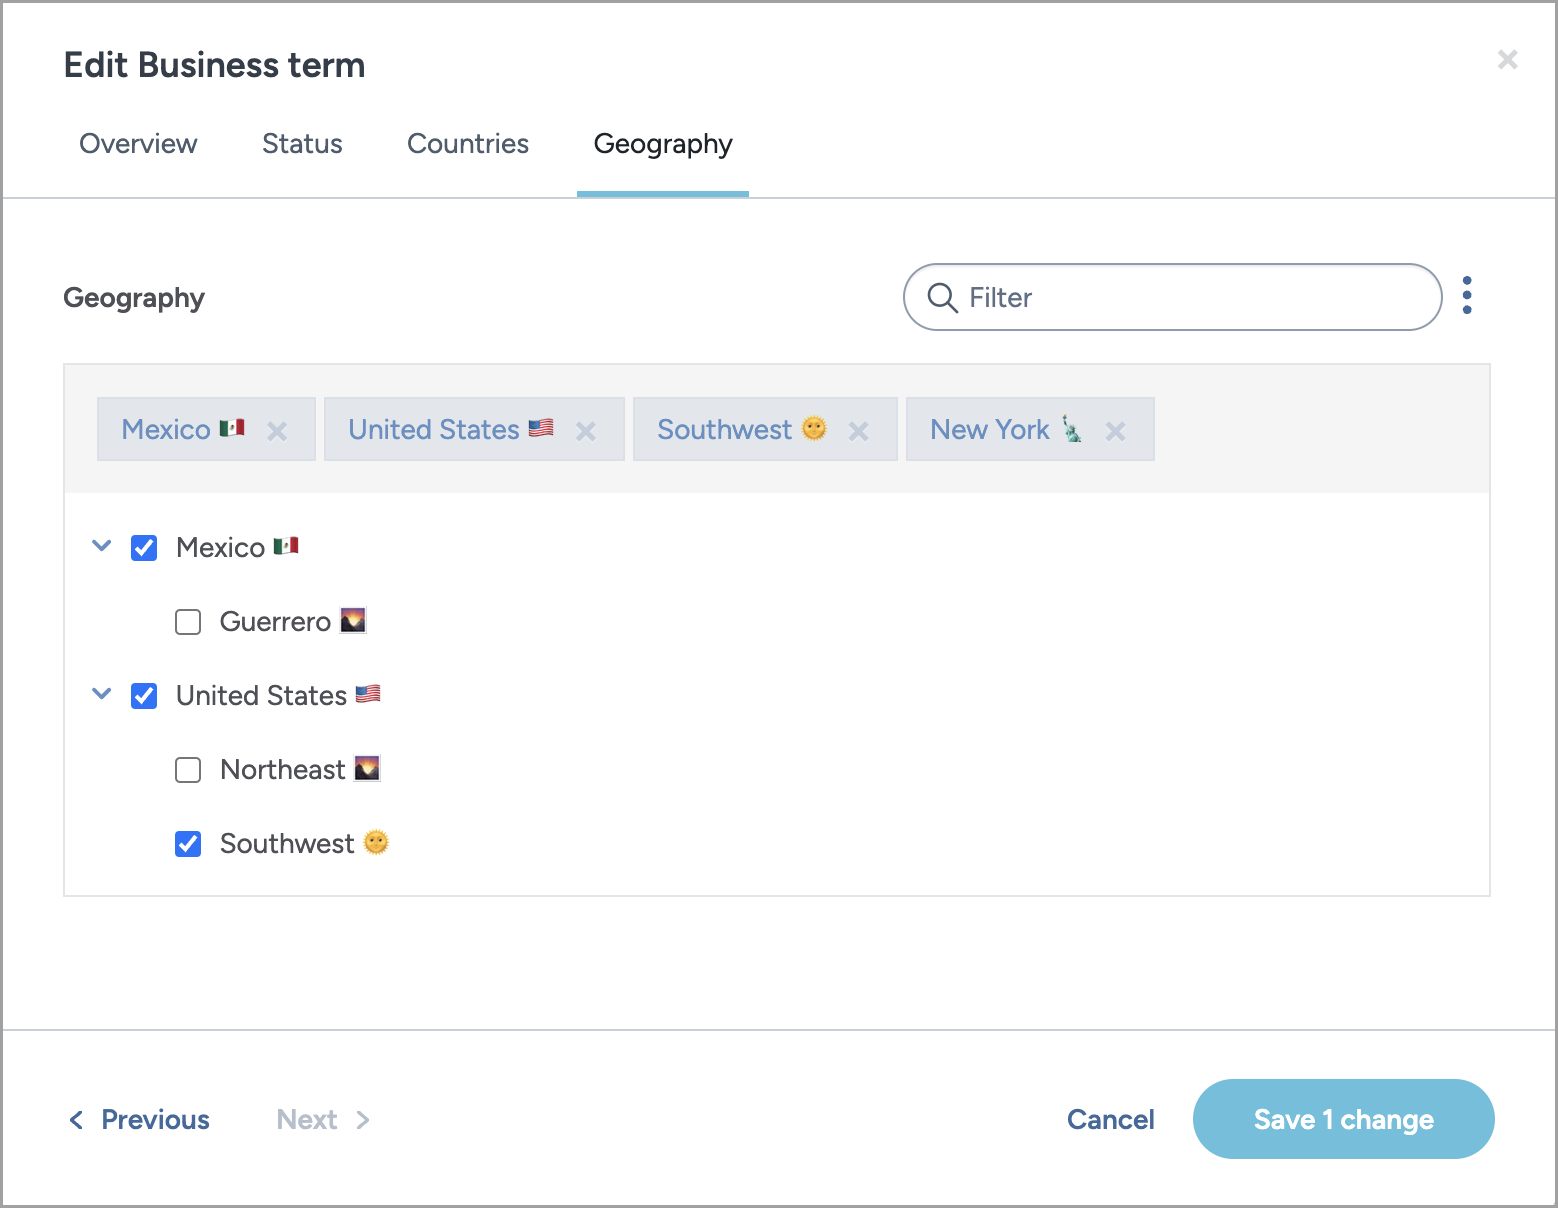
Multi select field with multiple levels of options: Where you can select more than one option from the available options at multiple levels.

Adding select field with special characters
Create a select field by following the instructions in the Create the select field section.
In the Catalog Configuration organization, from the Workbench page, browse to the DDW Template Files dataset.
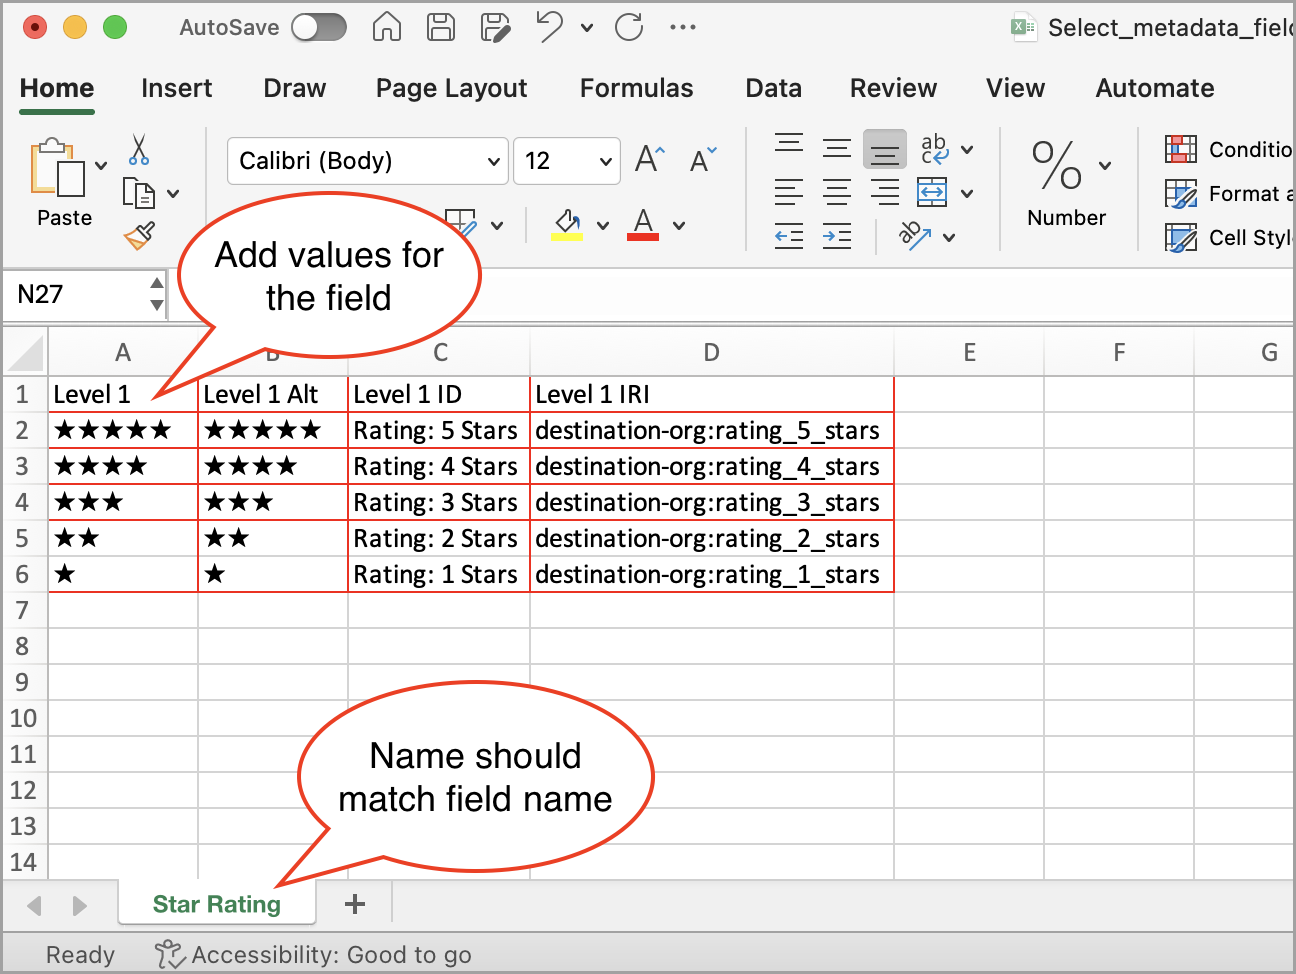
Download the sample Select_metadata_fields.xlsx file. You will notice that it shows how to create values with special characters (options_w_symbols).
In the same file or a new Excel file, add a new sheet. Name the sheet exactly what you named the field.
Caution
You can name the file anything you want but the names of the sheet should exactly match the names of the fields you have created. However, if the field name contains special characters, you can omit the special characters from the name. For example, for a field named Enabled?, name the sheet Enabled.
In the sheet, add the following columns and under it add the values for the field:

Level 1: Provide the value to be shown in your select field. For example, ☆☆☆☆☆.
Level 1 Alt: Provide the alt text for the value. For example, ☆☆☆☆☆.
Level 1 ID: Provide a description of the value. This will not be shown in the UI. For example, Rating: 5 stars.
Level 1 IRI: Provide a unique IRI for the value, using the required prefix destination-org:. For example, destination-org:rating_5_stars. Note: You cannot use the same IRIs for different values.
Likewise, to add a multi level field values, add Level 2, Level 3, etc.

After you are done, add the Excel file to the Select metadata fields dataset in the Catalog Configuration organization.
In the Sandbox organization, go to the resource page for which you added the select field. You can now use the select field options with special characters to define the value of the field.