Add custom resource types (CTK)
Why would I add custom resources?
One of the primary ways of organizing data in data.world is by resource types such as tables, datasets, and projects. If there is a specific type of resource not included with data.world that you would like to use, then you can create a custom resource type.
Planning your custom resources
Plan the list of custom resources you need for your organization.
Define the type of custom resources.
Specify the custom resources users can create from the UI.
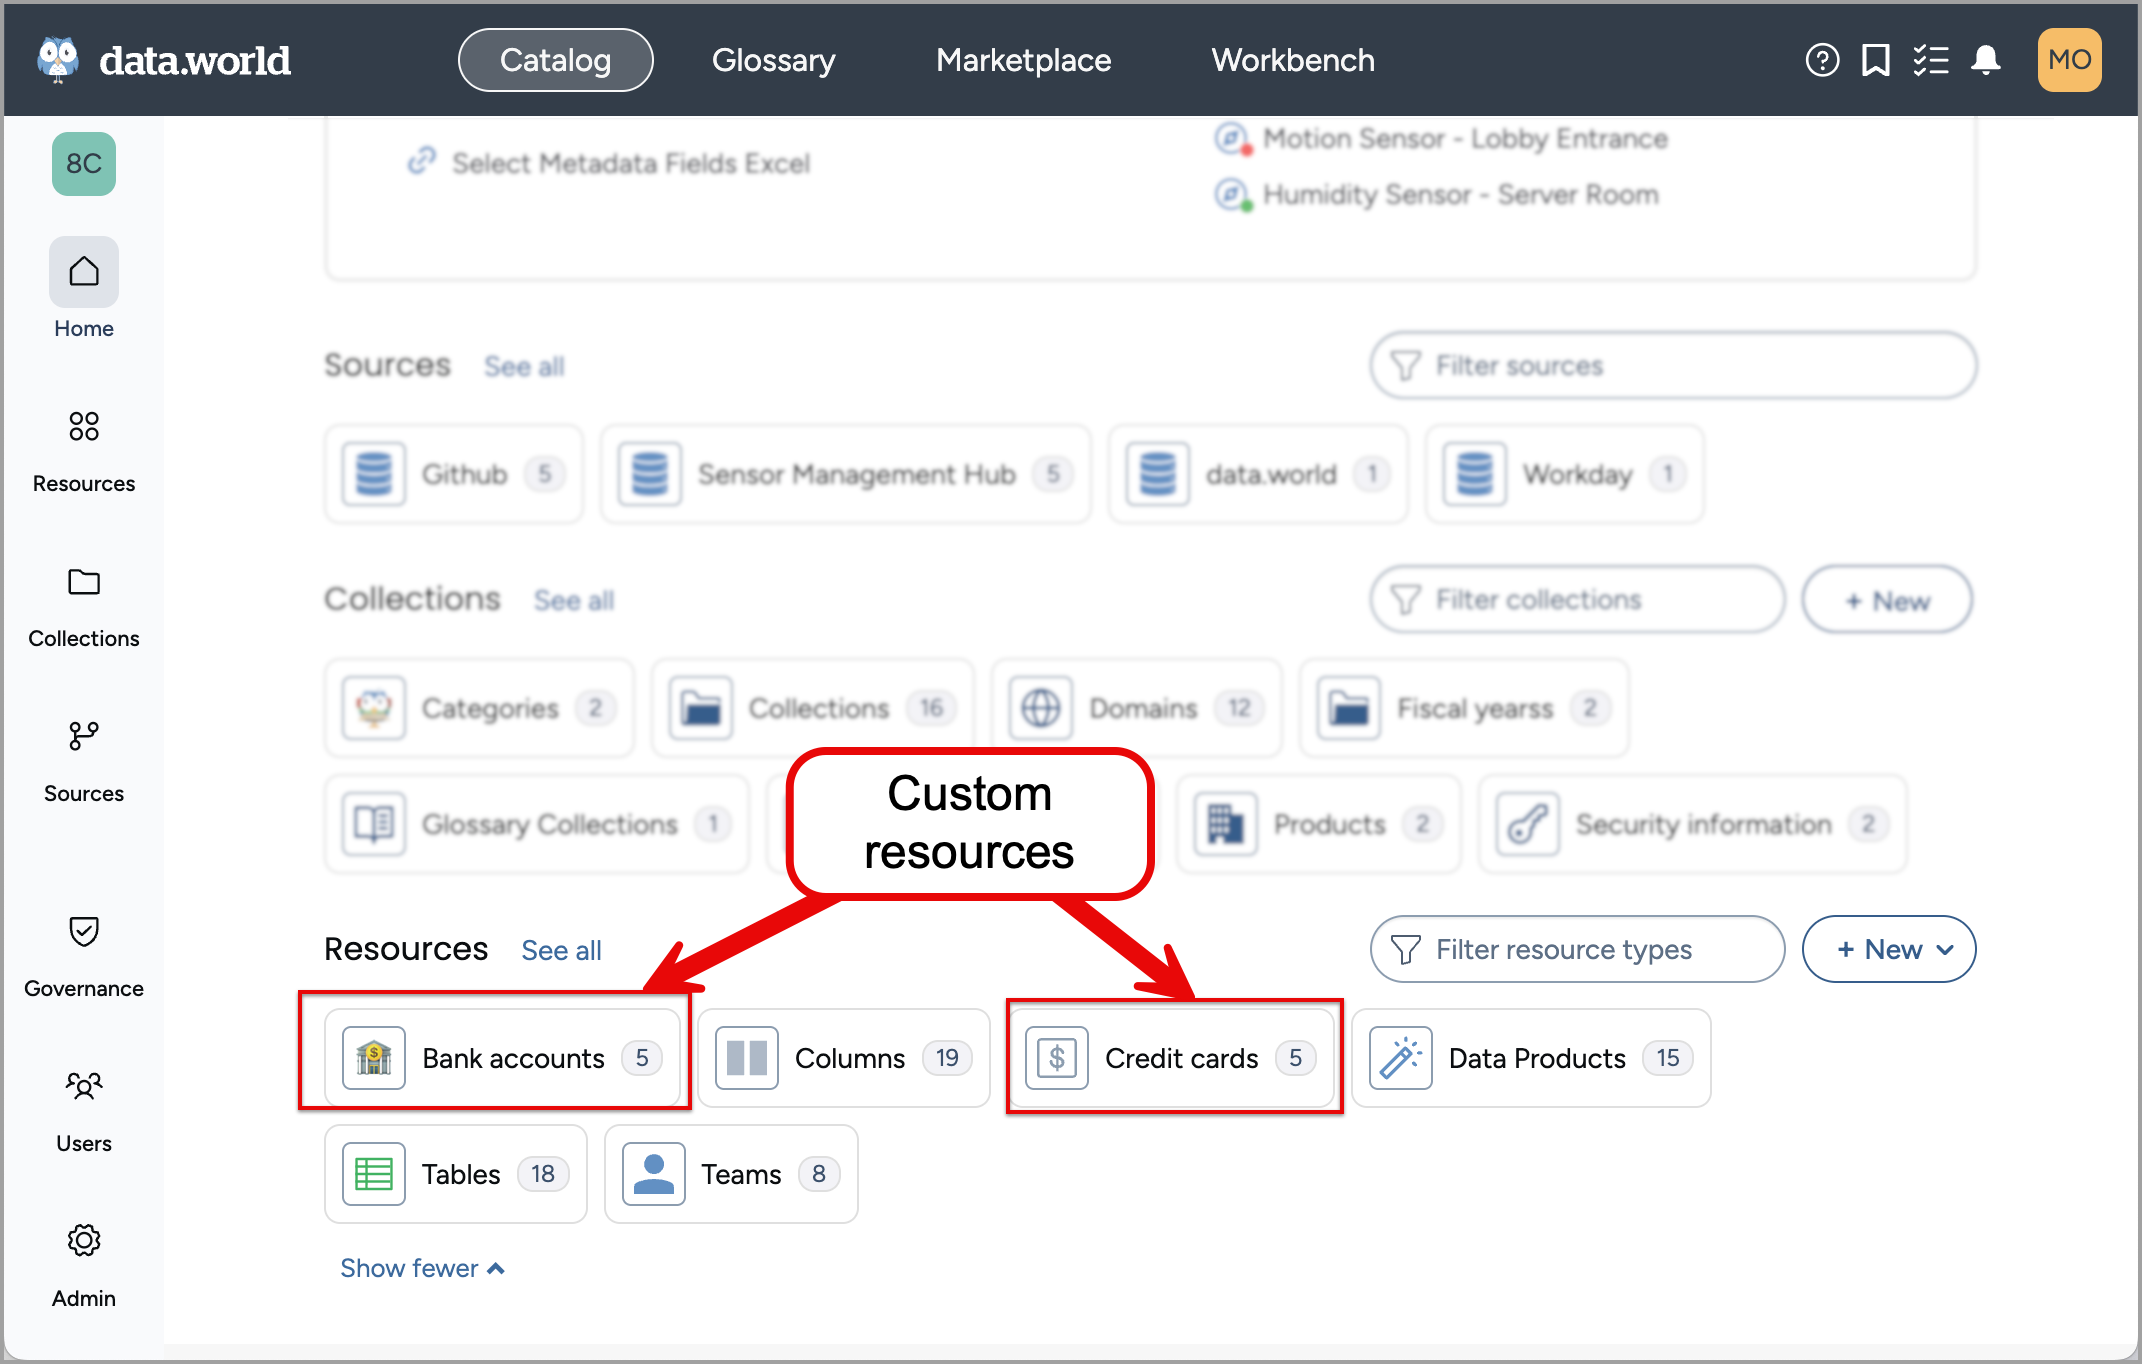
Add a custom resource
In the Catalog experience, go to the Resources page and click the New button.
On the Create a new resource page, in the Select type tab, select Type. Click the Continue to configure fields button.
The Create a new Type page opens.
In the Configure fields tab, set the following in the About section.
In the Title field, provide a name of the relationship you want to add. For example, let us add a type called Bank account.
Important
If you change the title of the type after it is in use in the destination organizations, you must setup the IRI override to maintain seamless object visibility and functionality across all systems.
From the Collections dropdown, select the Metadata profile collection.
In the Description field, provide a concise description of the resource that will appear in resource creation window.
In the Configure fields tab, set the following in the More information section.
Plural: Provide a plural for the field name. For example, Bank accounts.
Ability to create: Select one of the following:
Important
This option must be turned on to allow users to create the resources from the UI and API.
Edit permissions: Specify whether the entire type should be editable or read-only in the UI. Note: If set to Read only, users will not be able to make ANY edits in the UI for resources of this type. Default behavior is Can edit.
Read-only fields: Specify whether any default fields should be read-only in the UI.
Read-only sources: If you are making the entire resource read-only, you can specifiy what source defines the values of the resource fields. If nothing is selected, the default read-only source text reads as an automation or source.
Resource icon: Select a custom resource icon for the resource type. This is optional.
Click Continue to review type.
In the Review type tab, check the configuration details for any possible errors before saving it. If adjustments are needed, click Back to edit the configuration.
Click Create Type. The creation page is closed and you are taken to your new Resource type page.
Publish the changes
See: Publishing changes.
View the results
In the Sandbox Organization, In the Catalog experience, go to the Resources page.
Click the New button.
On the Create a new resource page, you will notice that the new custom resource is available.
Important
If you don't see the new custom resource type, check the configuration to make sure that the Ability to create option is set to Allow creation
Enhance the custom resource page
Go back to the Catalog configuration organization and add the custom field Steward to the Bank accounts custom resource. Publish the changes to the Sandbox organization and see the enhanced custom resources page.