Quick editing business glossary from UI
Use this option when you have to apply same changes to multiple terms in the organization. For example, if you want to set the same status, tags, or same steward for multiple terms, use the wizard available to make these quick edits. Also, this comes in handy when you have to quickly move a bunch of terms from one collection to another.
Important
Note that only users with the Edit or Manage access to Catalog resources can edit business glossary terms. For details about permissions, see Planning user groups and their access levels.
To quick edit business glossary:
Browse to the Glossary experience.
From the available filters, select the Resource type you would like to edit.
Click the Three dot menu and select Quick Edit.
On the Select Resource page, utilize the filter tools, search options, and advanced search capabilities to hone in on the specific resources you want to modify. Any filters selected on the main Glossary page are already applied and can be adjusted as needed.
Choose the terms for editing and loop through the various search methods to get your list ready for editing. The list of Selected resources is be maintained as you scroll through different search options in preparation for editing.
The Select Resource screen has a paginated list of terms with 50 resources per page, with a maximum of 2000 terms. If you have more than 2000 terms for a type, you will need to apply filters to gain access to additional resources that are initially not visible.
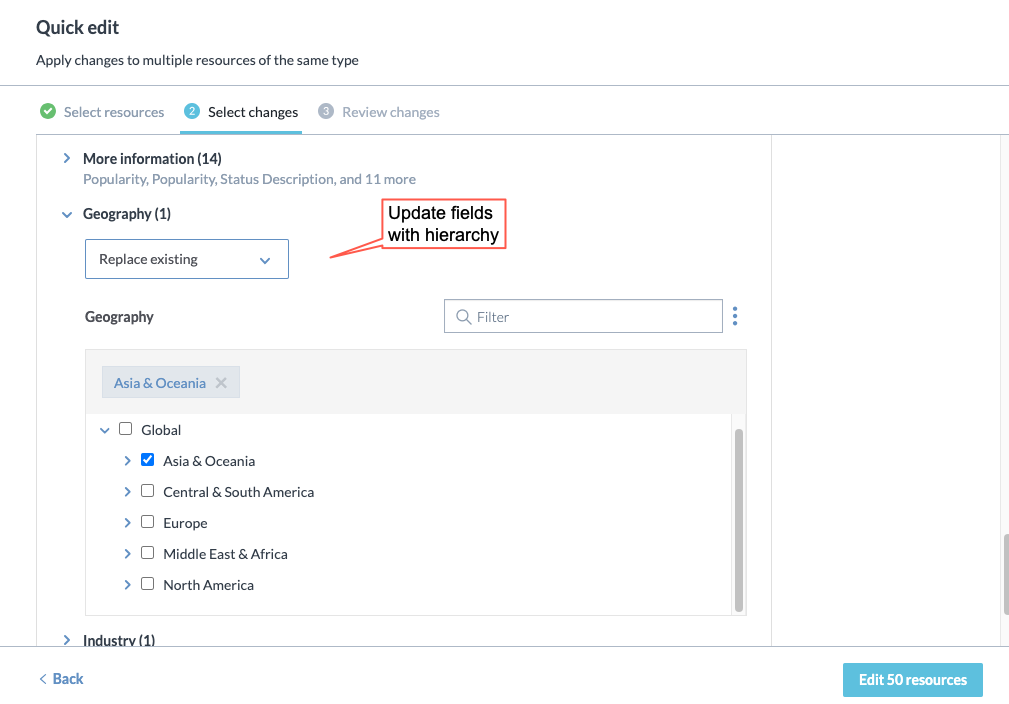
On the Select changes screen, make the required changes. The options available for editing will vary based on the metadata profile configured for the selected resources. You can use this Select changes screen to also quickly move around resources between collections. Once you are done with your changes, click the Edit resources button.
There are a few options when editing fields.
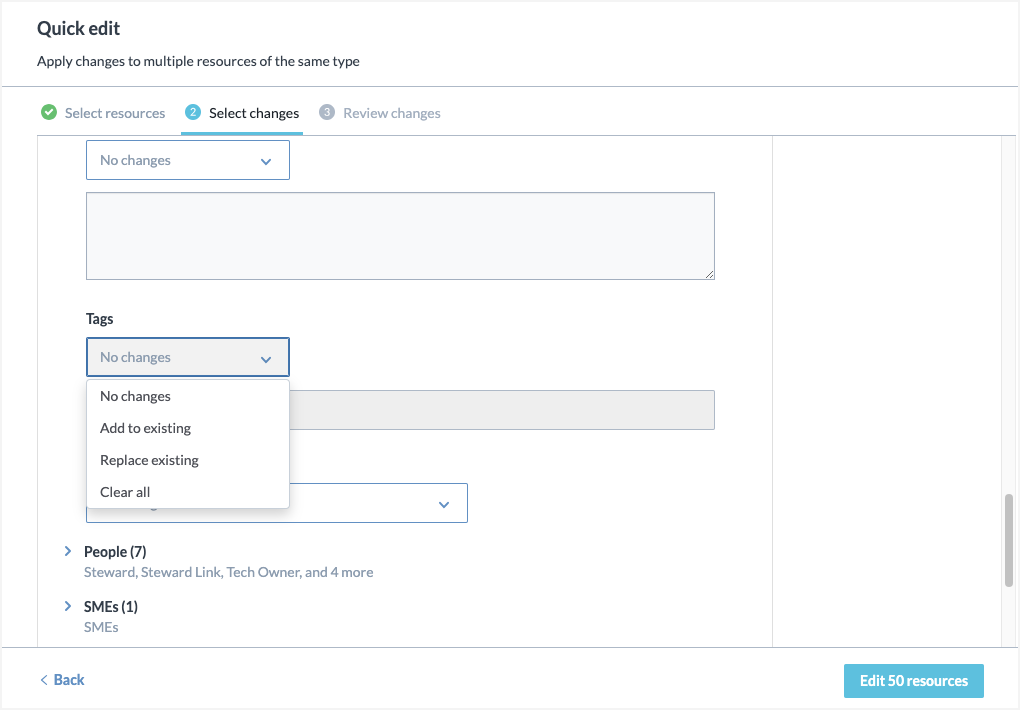
In fields like Tags, users can Add to existing, Replace existing, or Clear all values:
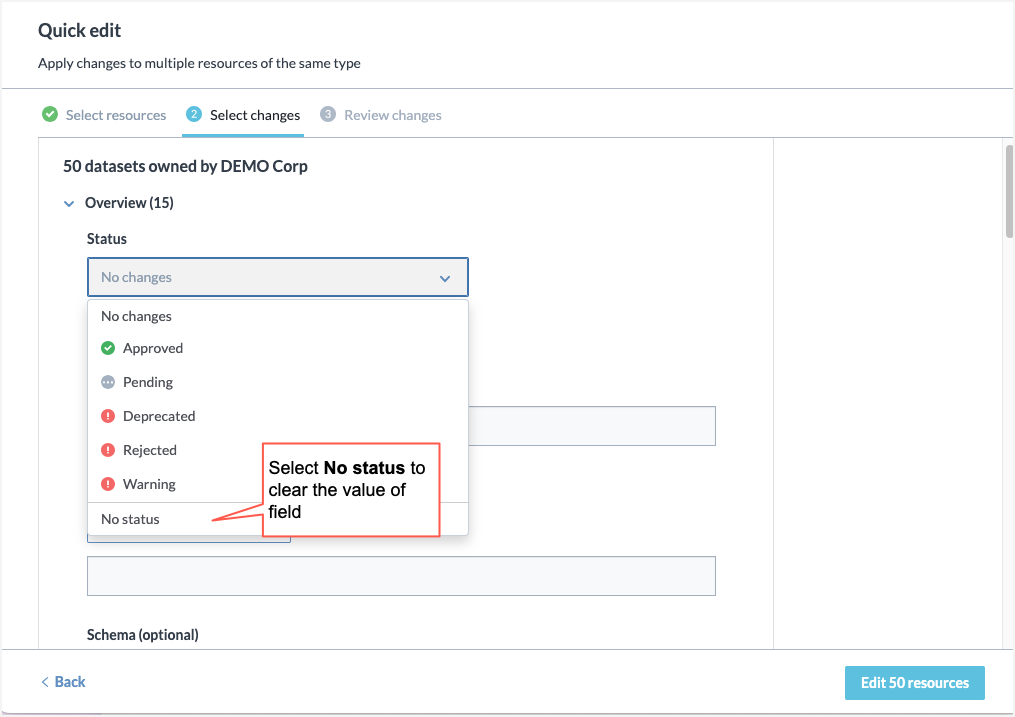
In fields like Status, you get an option to either select a status or remove status by selecting No status.
Note
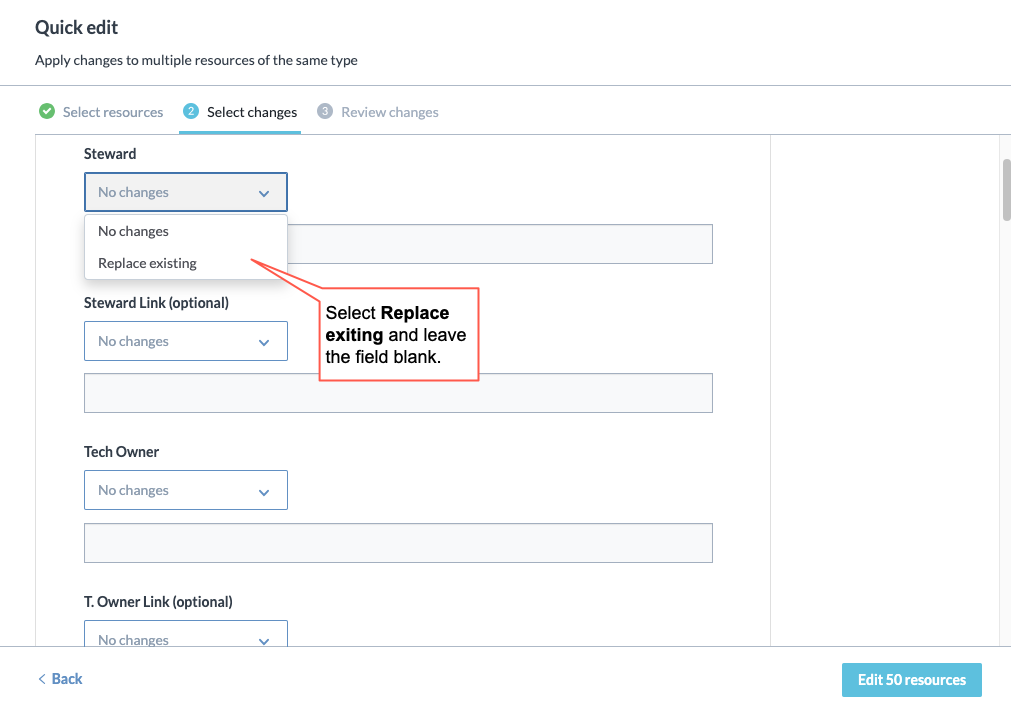
To clear the value for such fields, select Replace existing and leave the field blank.
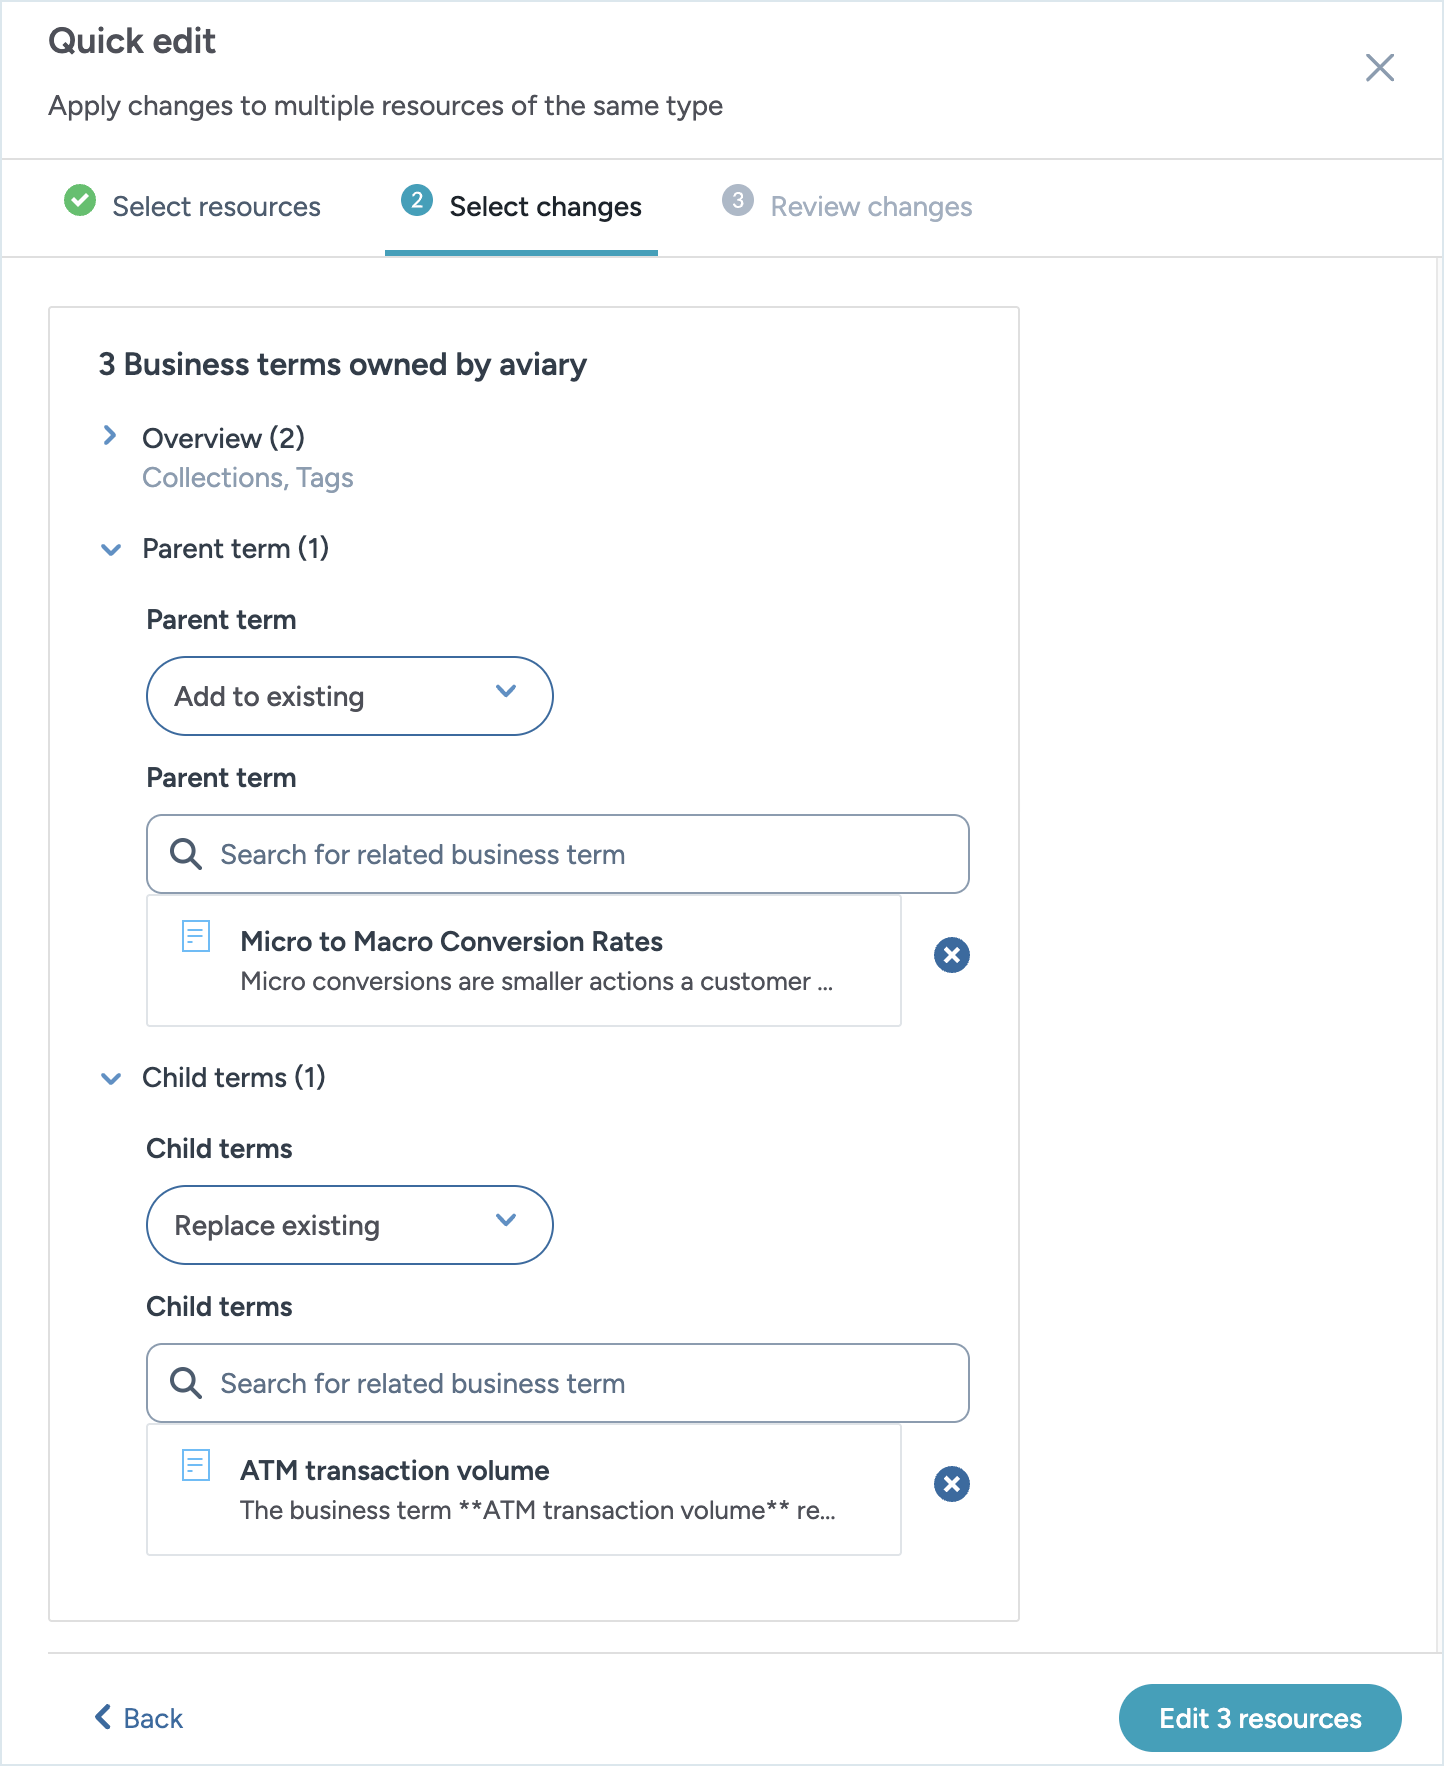
In fields like Parent term and Child terms, you can manage the hierarchy of business terms by adding or removing parent and child terms using the Add to existing, Replace existing, or Clear all options.
Other fields are simple text fields. In this case, you may either elect to not change the current value, or to replace the value entirely.
Some fields have complicated hierarchies of values. Those are often separated into their own section. In this case, the user can use: Add to existing, Replace existing, or Clear all.
Once you are done with your changes, click the Edit resources button.
On the Review changes screen, review your changes and click the Confirm changes button.