Posting insights
About insights
When you have findings, conclusions, or interesting points for discussion about your project, the insights section is the place to do it. Insights allow you to capture the conclusions from your work, packaging them up in a way that quickly communicates a nugget of information, while giving the viewer the tools they need to dig down into your methods and sources. Insights balance efficiency of communication with reproducibility--two concepts that are often at odds in this phase of data work. You can use insights to capture the results and analysis of your work and synthesize them so they are understandable and accessible to stakeholders at all levels in the project. Insights can be created by the project owner and any contributors, and are the first thing that displays on the main overview page. They also have their own tab in the project.
Ways of adding insights (insights added from builder also get added as project files. Do not delete the file as it impacts the insight. When you delete the insight, the associated file does not get deleted.)
There are several places from where you can add an insight to your project:
From the product workspace - Overview tab and Insights tab
From Chart Builder, built-in visualization tool.
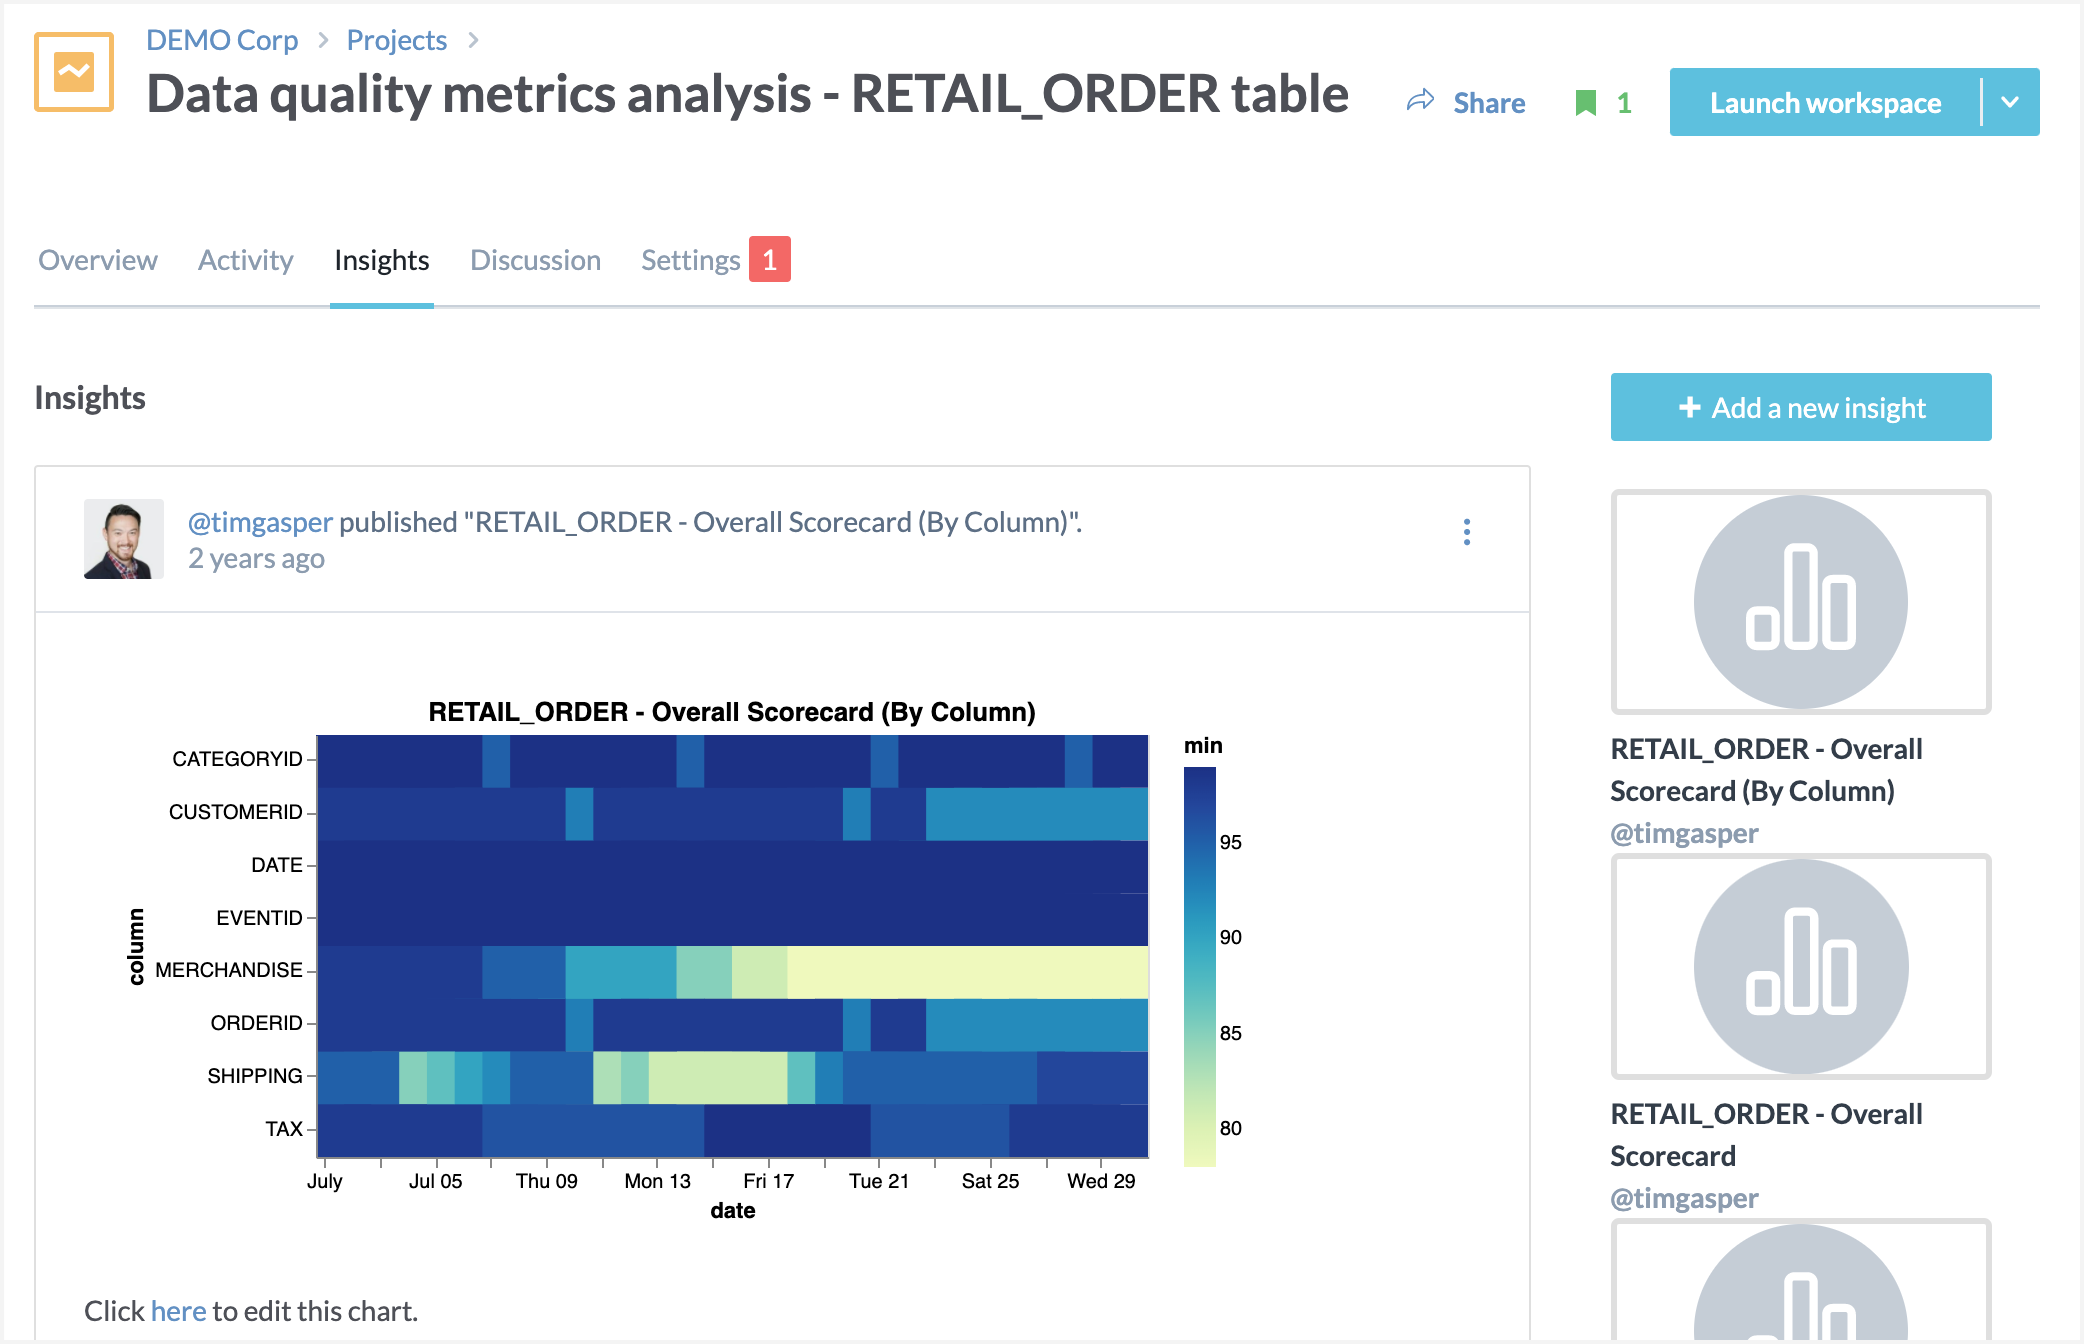
Adding Insights from Projects
To add an insight:
In the Workbench experience, browse to a project.
Click the New insight button.
The New insight tab opens in the project workspace.
Use the markdown or simple text editor mode to add the insight.
Click Done.
In the Name your insight to save window, provide a name and description for the insight. Click the Save insight button.
The insight gets added in the project workspace. Click the Edit button to make changes to the insight. If you want to rename the insight, click the insight name or click the Rename option from the Three dot menu.
To start another insight from an existing insight, go the Version tab on the right. Click the Three dot menu for the version and you want to copy and click Make a copy.
Adding files to insights
Embed files directly into the body of an insight using the markdown embed feature. This functionality allows you to provide quick access to files, making your insights more informative and interactive for users.
The embed feature supports most file types that the platform can preview, including CSV, JSON, XLSX, PNG, and more. For a complete list of supported file types, see the Supported file types documentation. If a file type does not display correctly, you can click the link to view or download it directly.
To add a file to an insight:
Browse to the file in the project workspace and copy the file URL from the address bar.
Note
Files from other projects are not previewed. To add external data, ensure the data is added to the current project.
Create a new insight or edit an existing one.
In the Insight editor, use the following markdown syntax to embed the file.
@(file-URL)
Replace file-URL with the file URL copied in Step 1.
Important
The @ file embed must be placed on a new line. Do not add text on the same line.
Provide descriptive text or relevant details about the embedded file.
Click Done to save your edits.
In the Name your insight to save window, provide a name and description. Then click Save insight.
Once saved, the insight with the embedded file is added to the project.
To view embedded files:
Go to the Project overview or the Insight tab to preview the file. The file renders directly within the insight body.
For files containing data or additional details, click See all or Show more to quickly access the file content.
Adding insights from Chart Builder
To add an insight from the chart builder:
Create a chart in the Chart Builder.
Once you are ready to publish, click the Share button and select Insight.
In the Save as insight window, select the project where you want to save the insight, provide a Title and Description. Click Save.
A confirmation message appears on the screen. Click the Open in new tab link to go to the Insight in the project where it is added. Click Close to close the window and go back to the chart builder.
To edit the insight from chart builder, click the link that is automatically added to the content. Make changes to the chart in the Chart Builder. Once done, repeat stet 2 and 3 to save the insight to the same project or a different project.
Deleting Insights
To delete an insight:
Browse to the insight you want to delete.
Click the Three dot menu and select Delete.
A message appears confirming the deletion. Click OK to complete the deletion process. The deleted insight is automatically removed from the bookmarks of users.
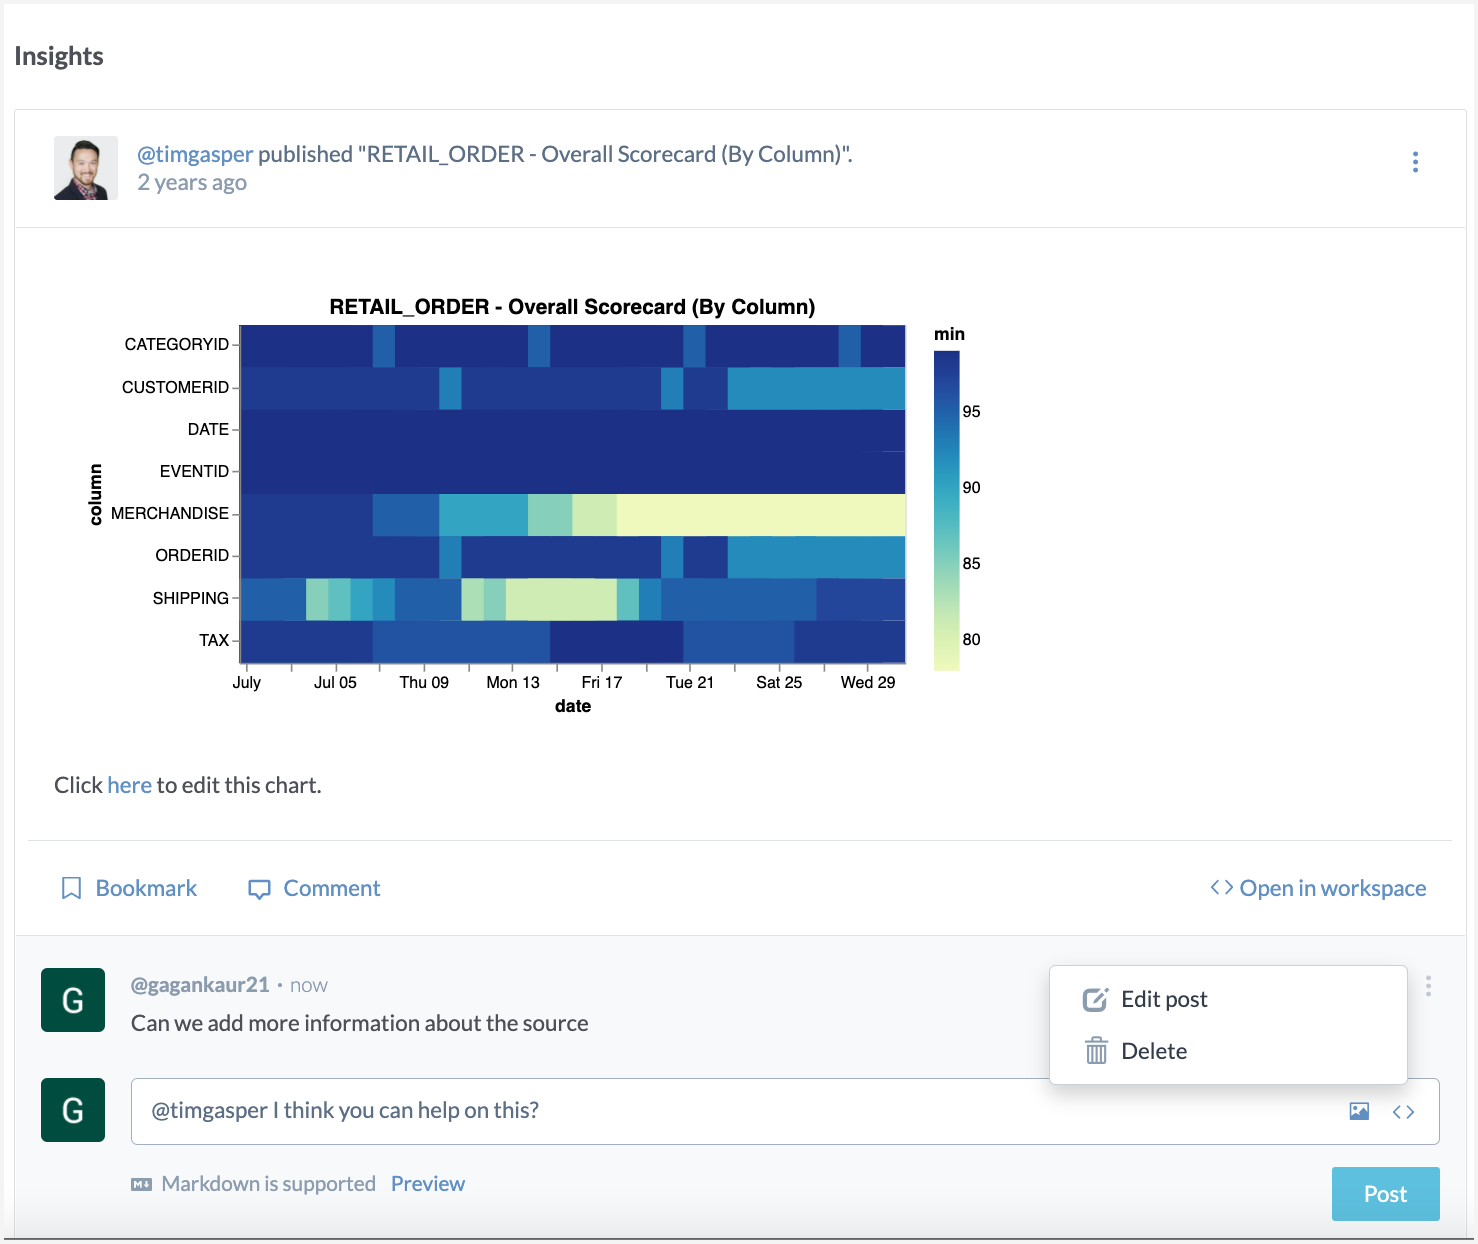
Adding comments to insights
Use the comments feature for insights to collaborate with users of your project. Even users who have View access to projects can use comments to provide inputs on insights without having the ability to make any changes to projects.
To comment on insights:
Browse to the insight you want to comment on.
Use the comments box in the footer of the insight to start a discussion on the insight. Use markdown and mentions of users to enrich the experience of interacting.
As a person who added the comment, you can edit and delete your comments. Click the Three dot menu next to the comment to Edit or Delete a comment.
Viewers of the comments can report inappropriate comments. Click the Three dot menu next to the comment to Flag a comment.
Bookmarking insights
Bookmark the insights that you find useful and would like to come back to later. Bookmarked insights can be managed from the Bookmarks space of the application.
To bookmark an insight:
Browse to the insight you want to bookmark.
In the footer of the Insight, click the Bookmark button. If the Insight is bookmarked by other users, it shows the bookmark icon with a number. If the Insight is bookmarked by you, click the button to unbookmark the insight.