Setting up data virtualization
To initiate data virtualization, you can leverage the Connection Manager for creating live connections owned by an organization or the Integration Gallery for personal connection ownership.
To set up data virtualization:
In the Catalog experience, browse to the Admin page > Connection manager section.
Click the Add connection button. The Add an-organization level connection window opens.
In the Add an-organization level connection window, choose the preferable connection and follow the instructions for setting up connections.
After you complete the connection set up, the Add data with your connection window opens. Click on the Go to datasets button to add files to a dataset. The Resources page opens.
On the Resources page, you can choose to either select an existing dataset, or create a new one. Do one of the following:
To use an existing dataset:
Select a dataset from the list of datasets.
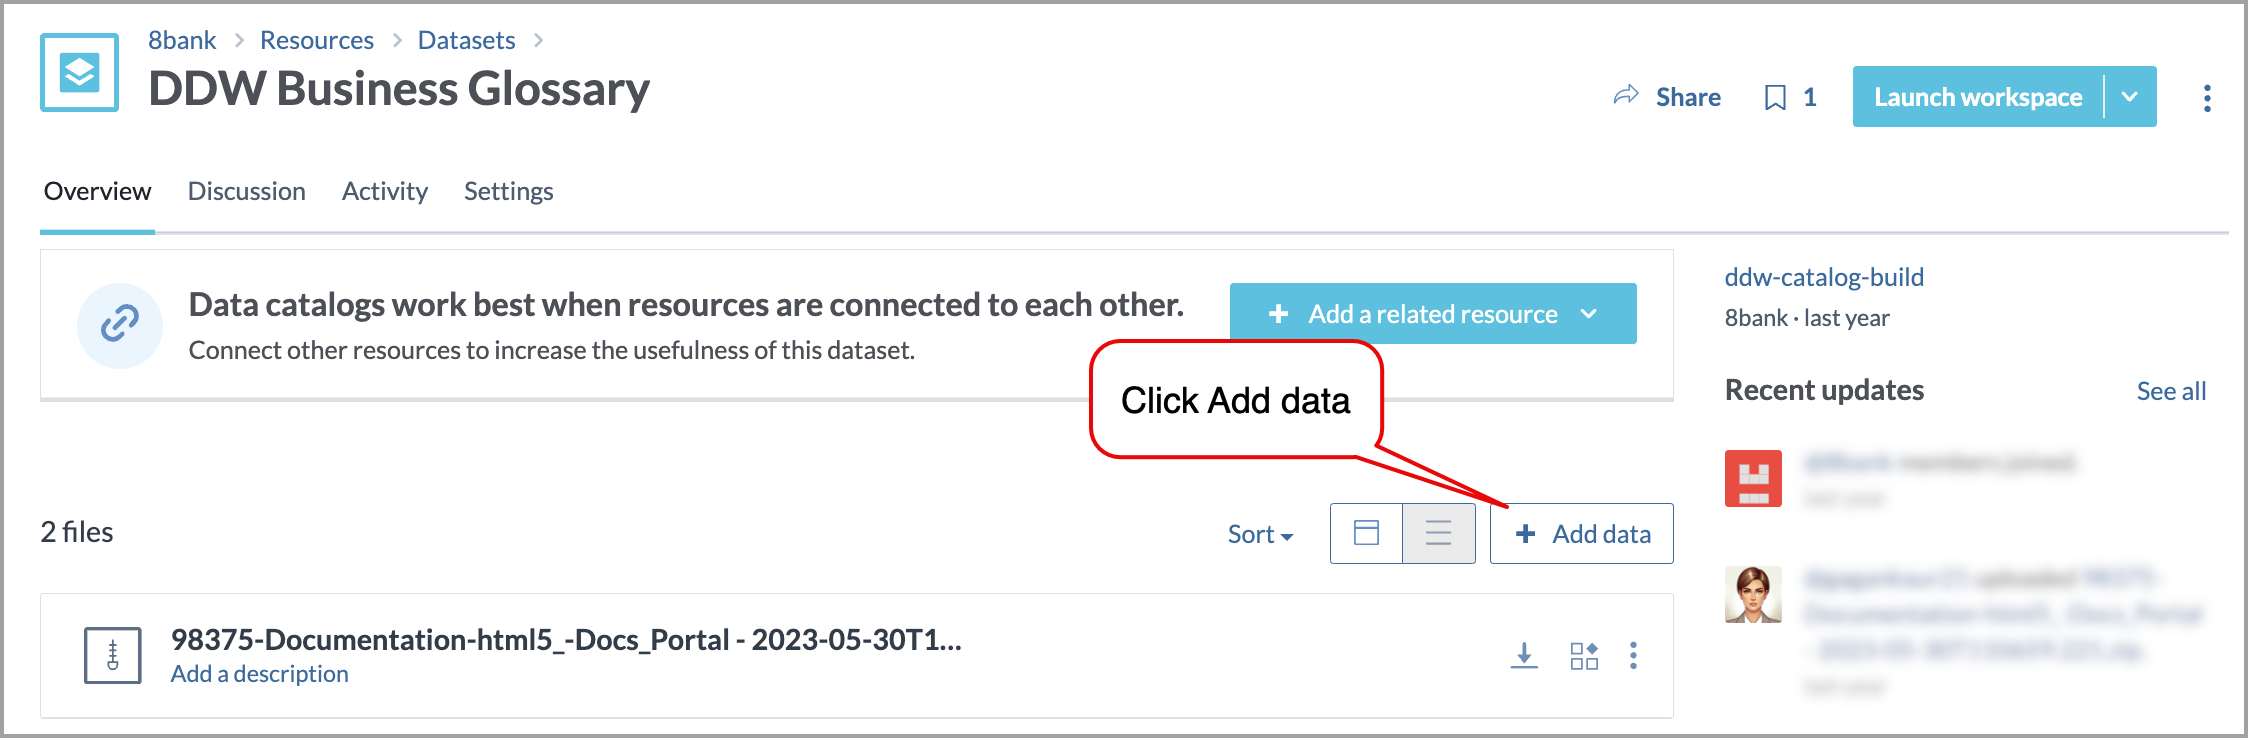
On the Dataset overview page, click Add data. Add data from anywhere window opens.
To create a new dataset
In the Workbench experience, browse to the Home page.
Click New > Dataset.
Provide a dataset name. Click Create dataset. Your dataset has been created page opens.
Click on the Add data button. Add data from anywhere window opens.
In the Add data from anywhere window, select your connection from the My integrations section. Choose a source type window opens.
Next, in the Choose a source type window, click the Use live table button.
Next, you are prompted to select a database, and then a schema, followed by tables. When you get to the table selection you have the option of adding one or many tables at the same time. If you want to use all of the tables in your dataset, select the checkbox next to the Name title.
Click the Import tables button. You are taken to the dataset Overview page where you can now see the virtualized data.