Updating general details of the organization
After you have created the organization, you can go to the Catalog experience > Admin page to configure important settings for the organization.
Updating general information of the organization:
Go to the Catalog experience.
On the Settings page, in the Profile section, set the following generic properties of the organization:
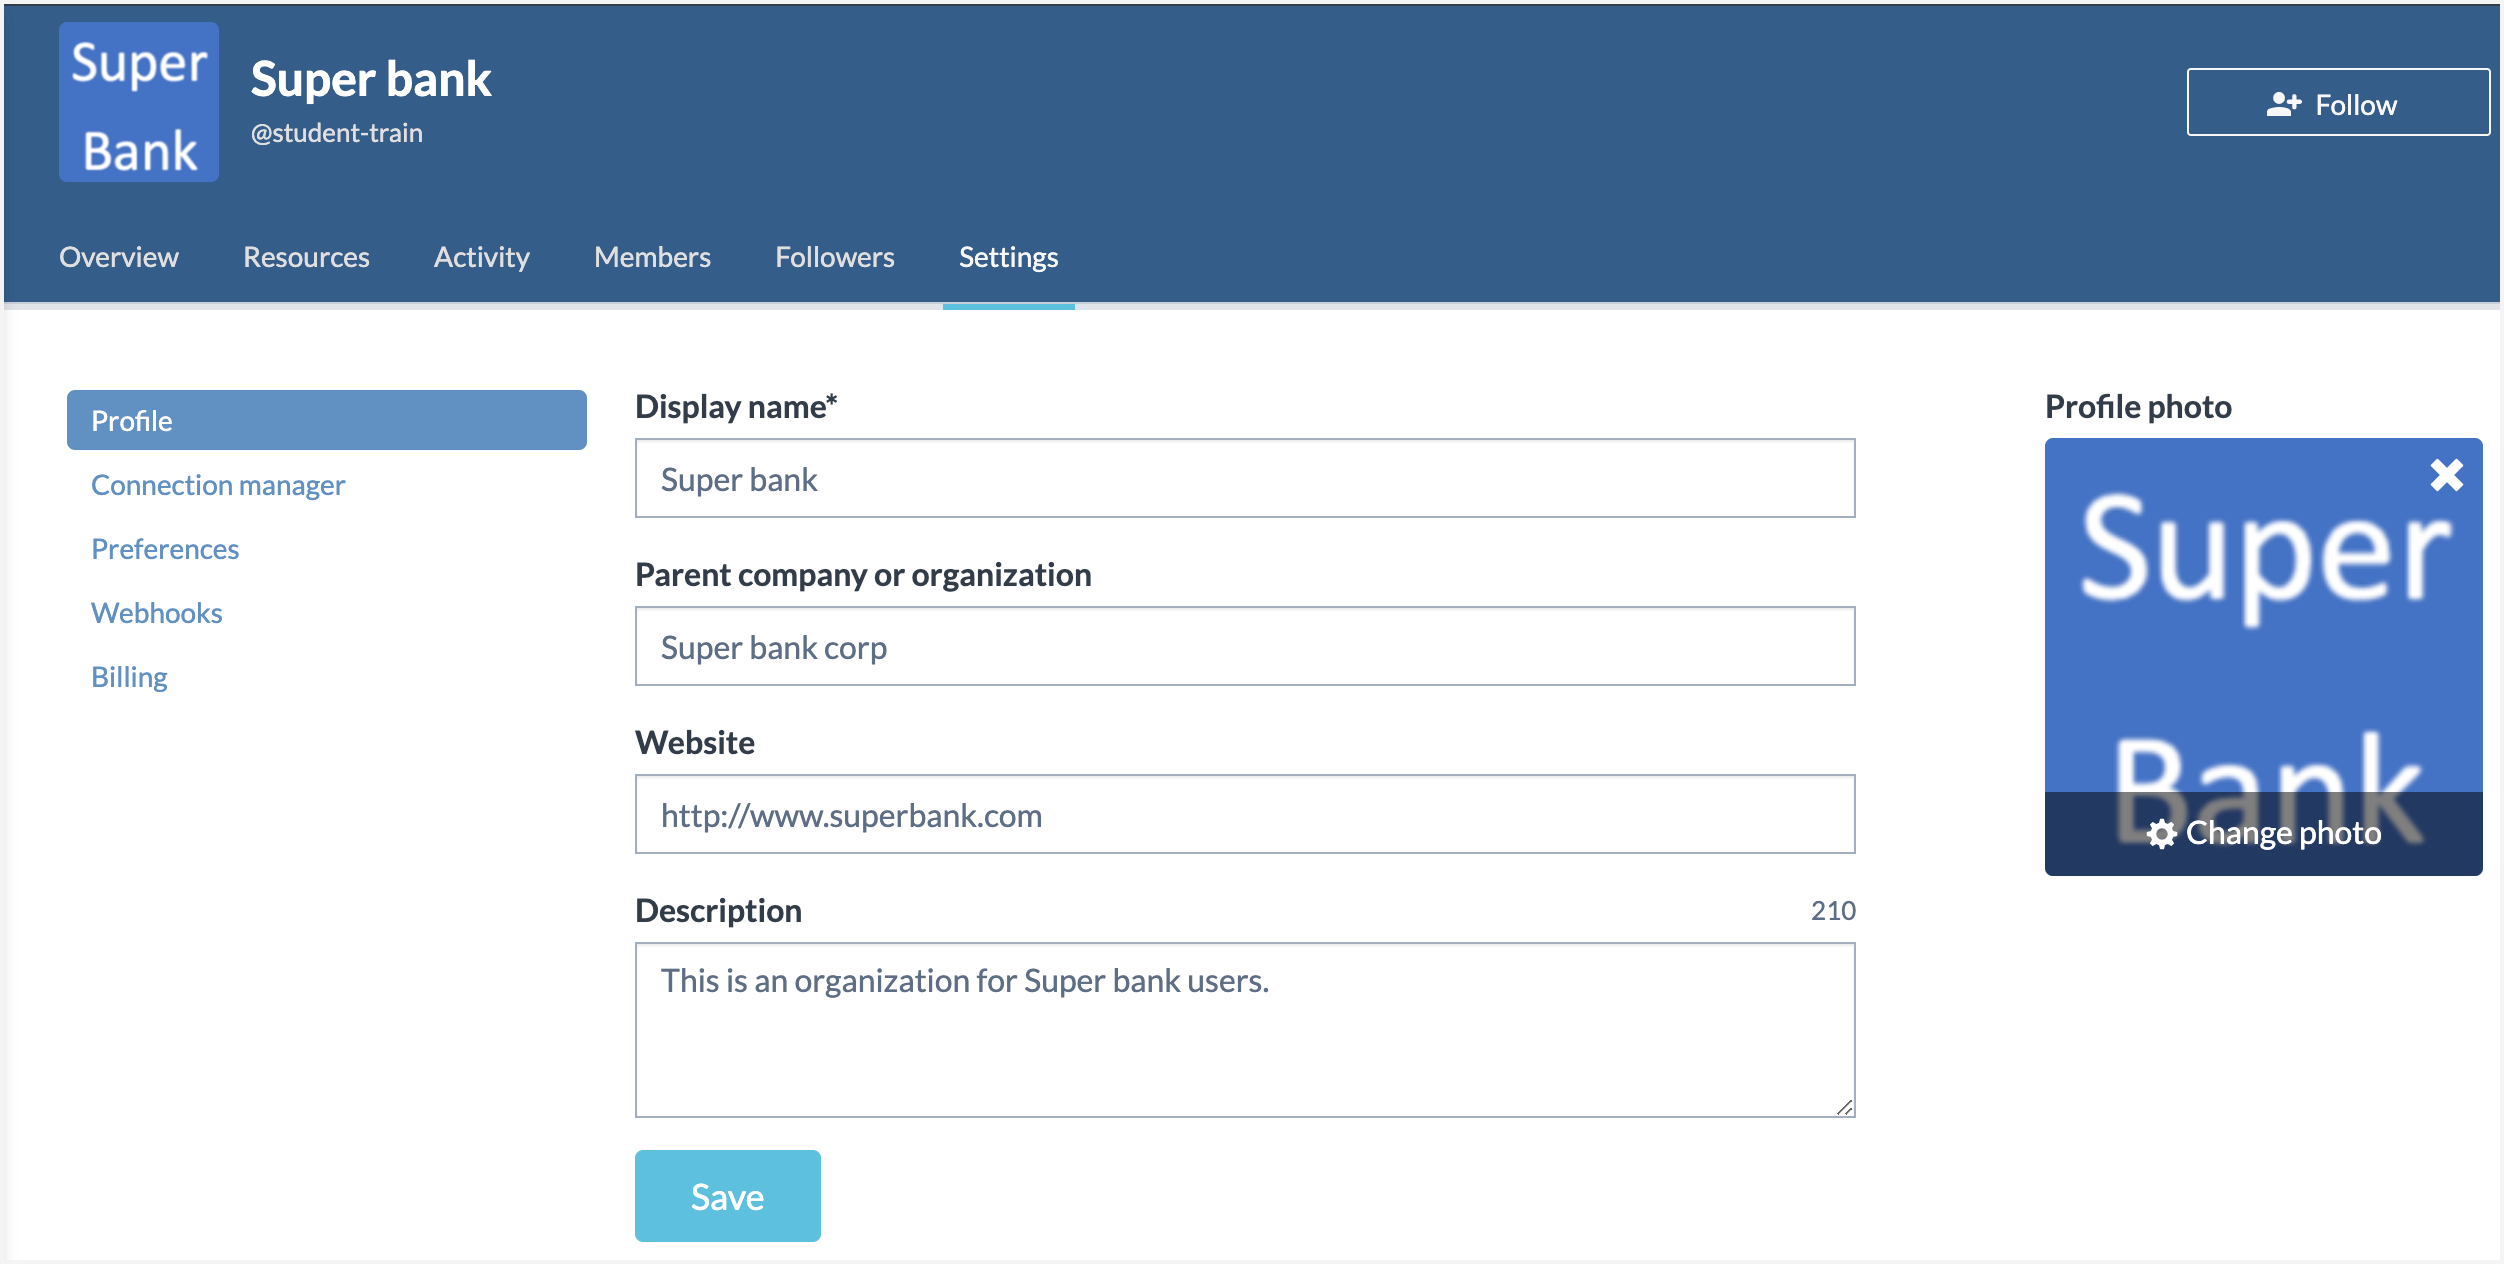
Display name: This is the name you had set while creating the organization.
Parent company or organization: Not in use.
Website: Not in use.
Description: A short description of the organization.
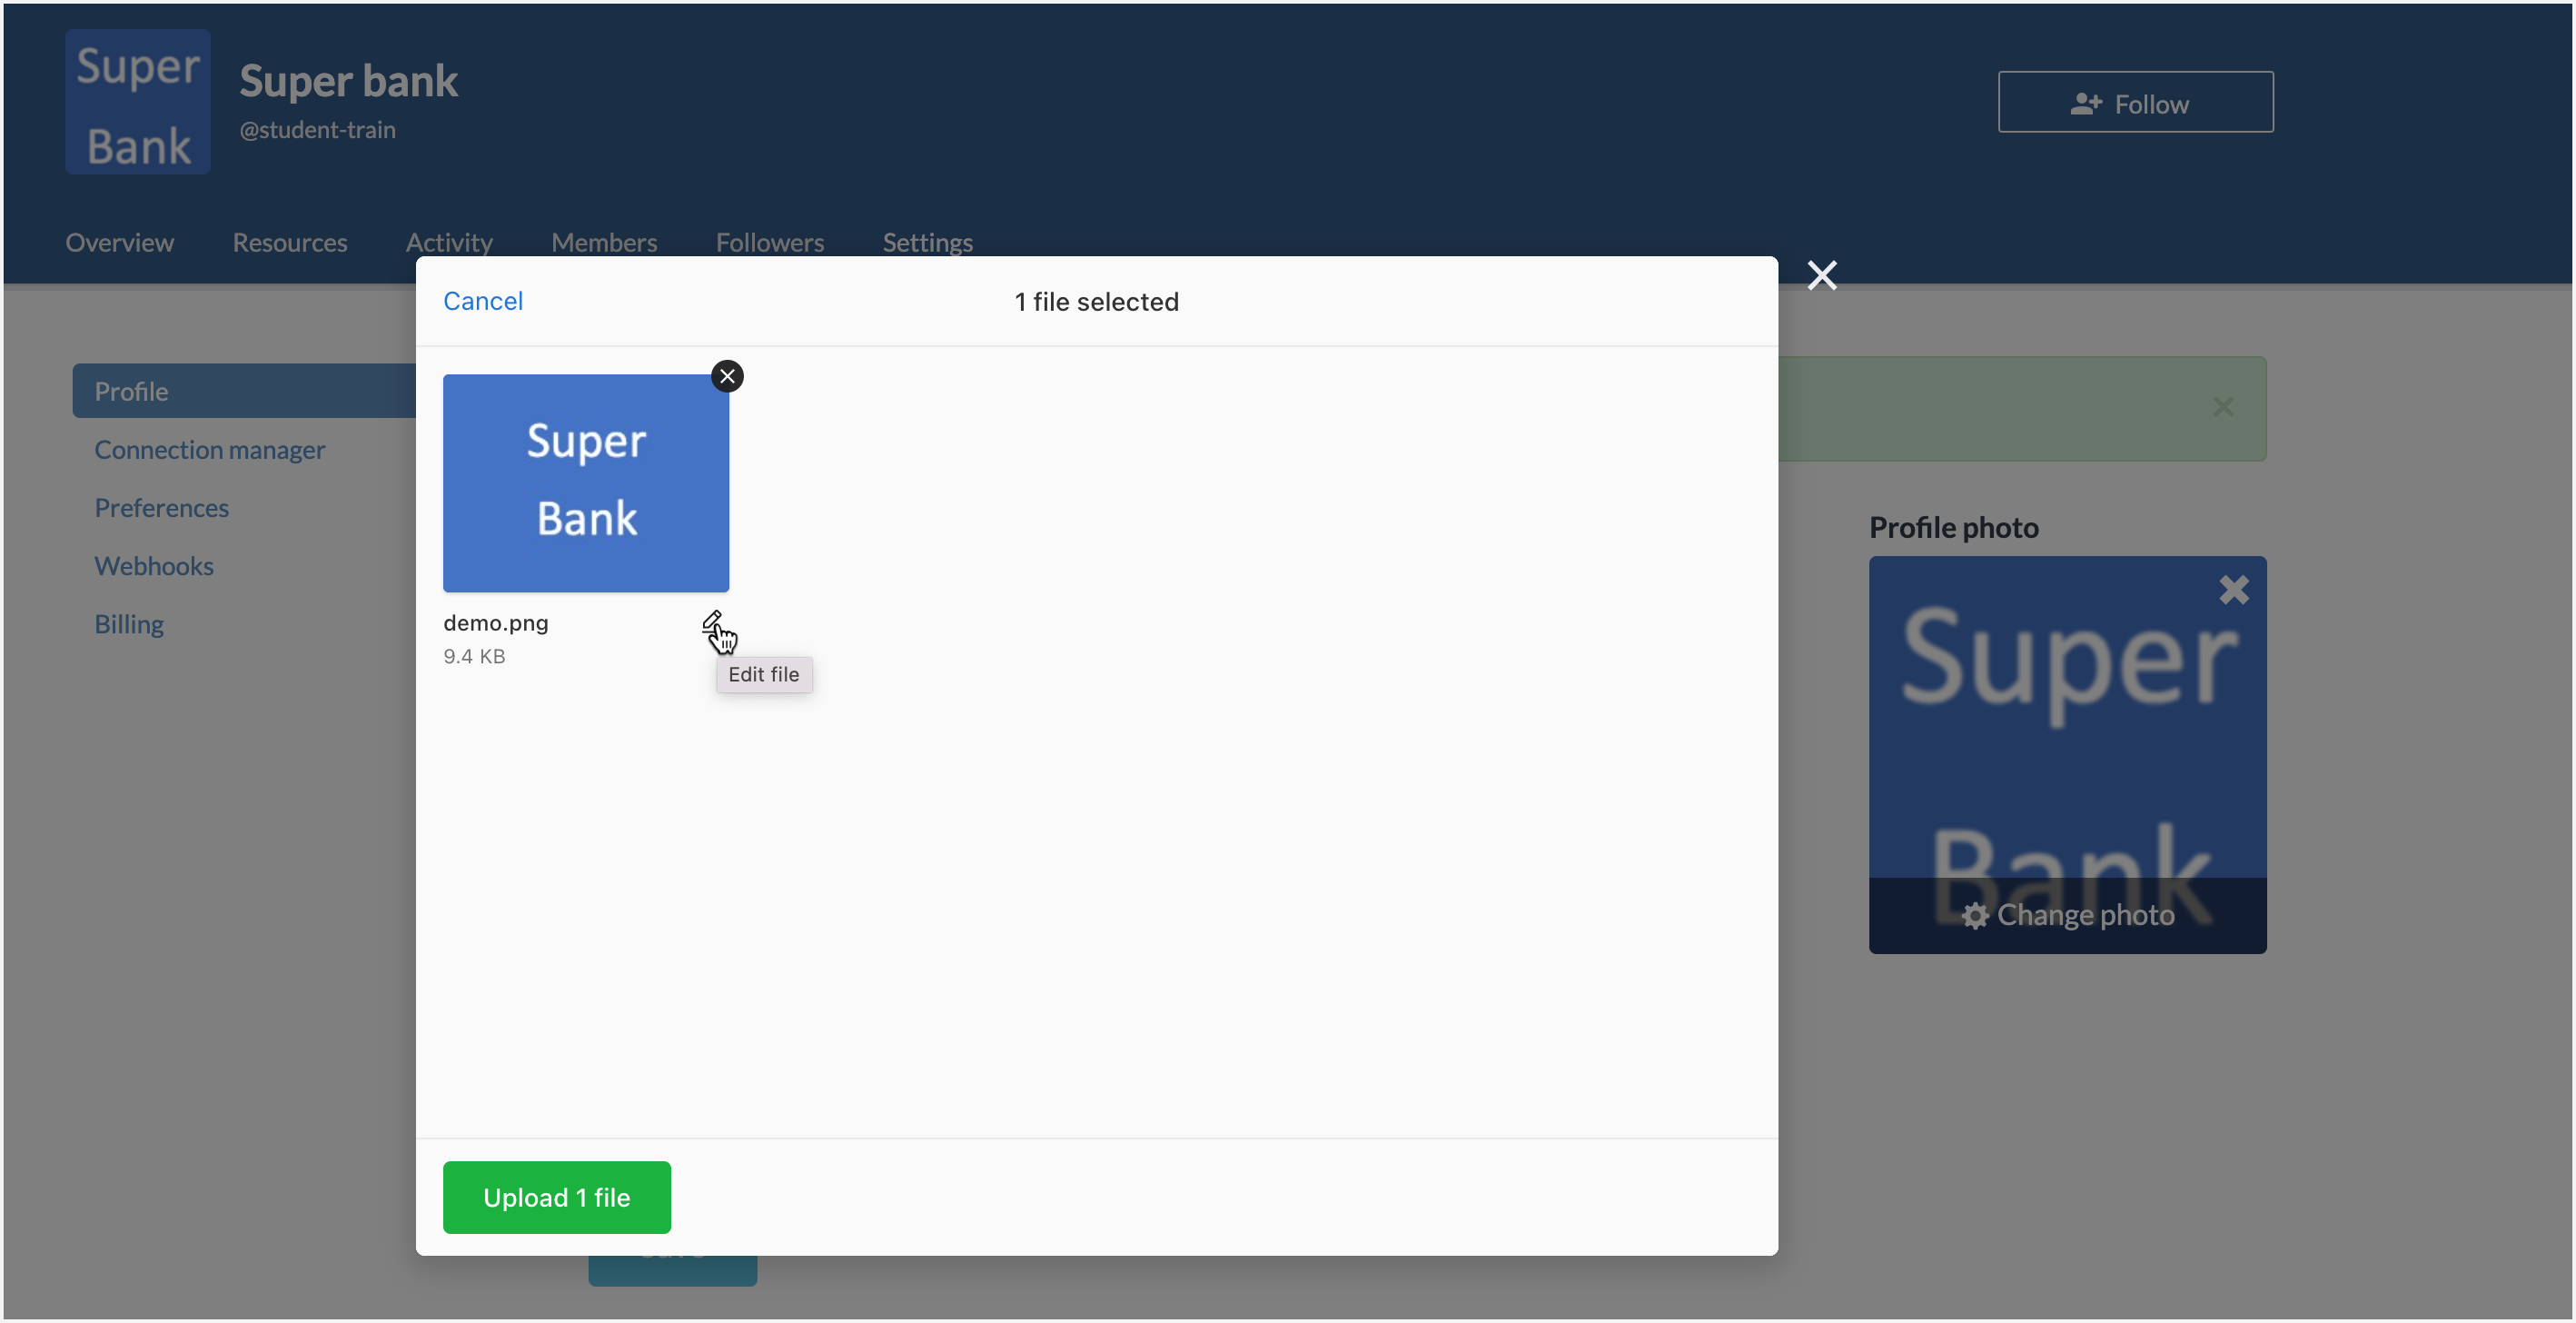
Profile photo: Click the Add a photo button to upload a new image for your organization. Once you upload the image, use the Edit file button to resize and adjust the properties of the image.
Important
Upload images that have an aspect ratio of 1:1 (square). The largest display allowed is 260 by 260 pixels so an image uploaded at that size is recommended. Images that are a lot smaller may not display correctly and can come out pixelated.
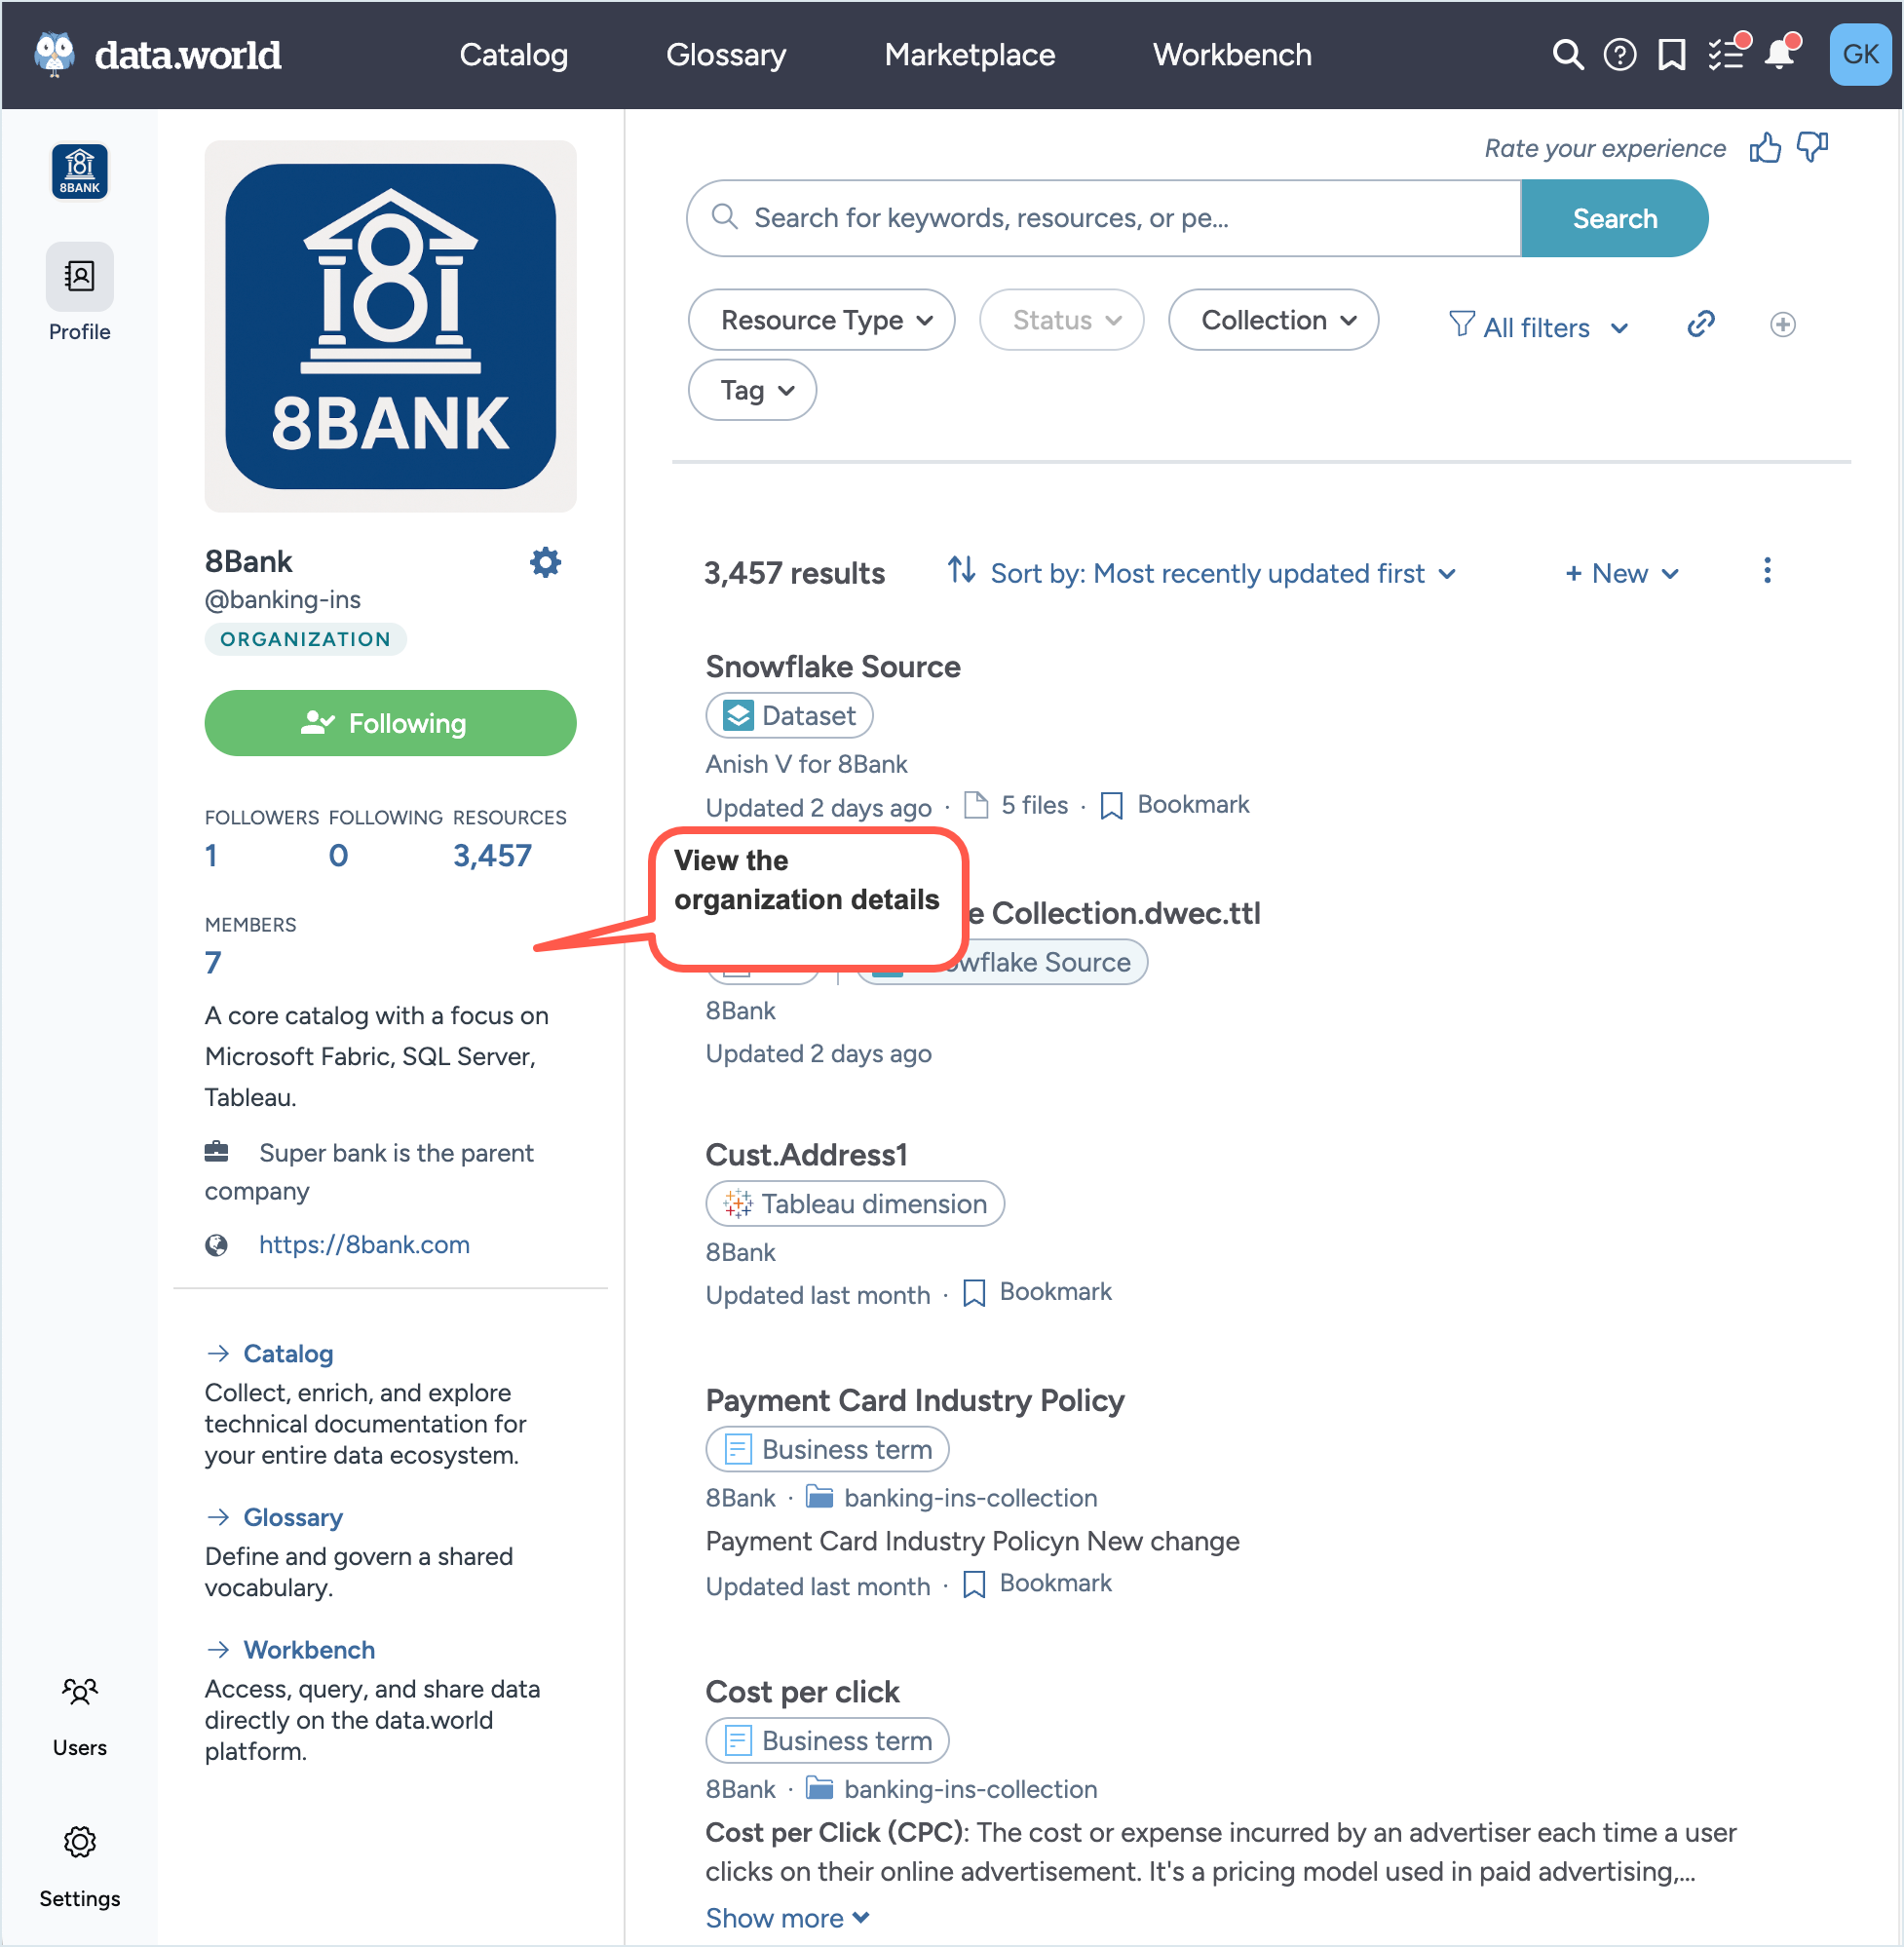
Click the Save button. This information is displayed on the Organization profile page and the Home page of the Catalog experience.
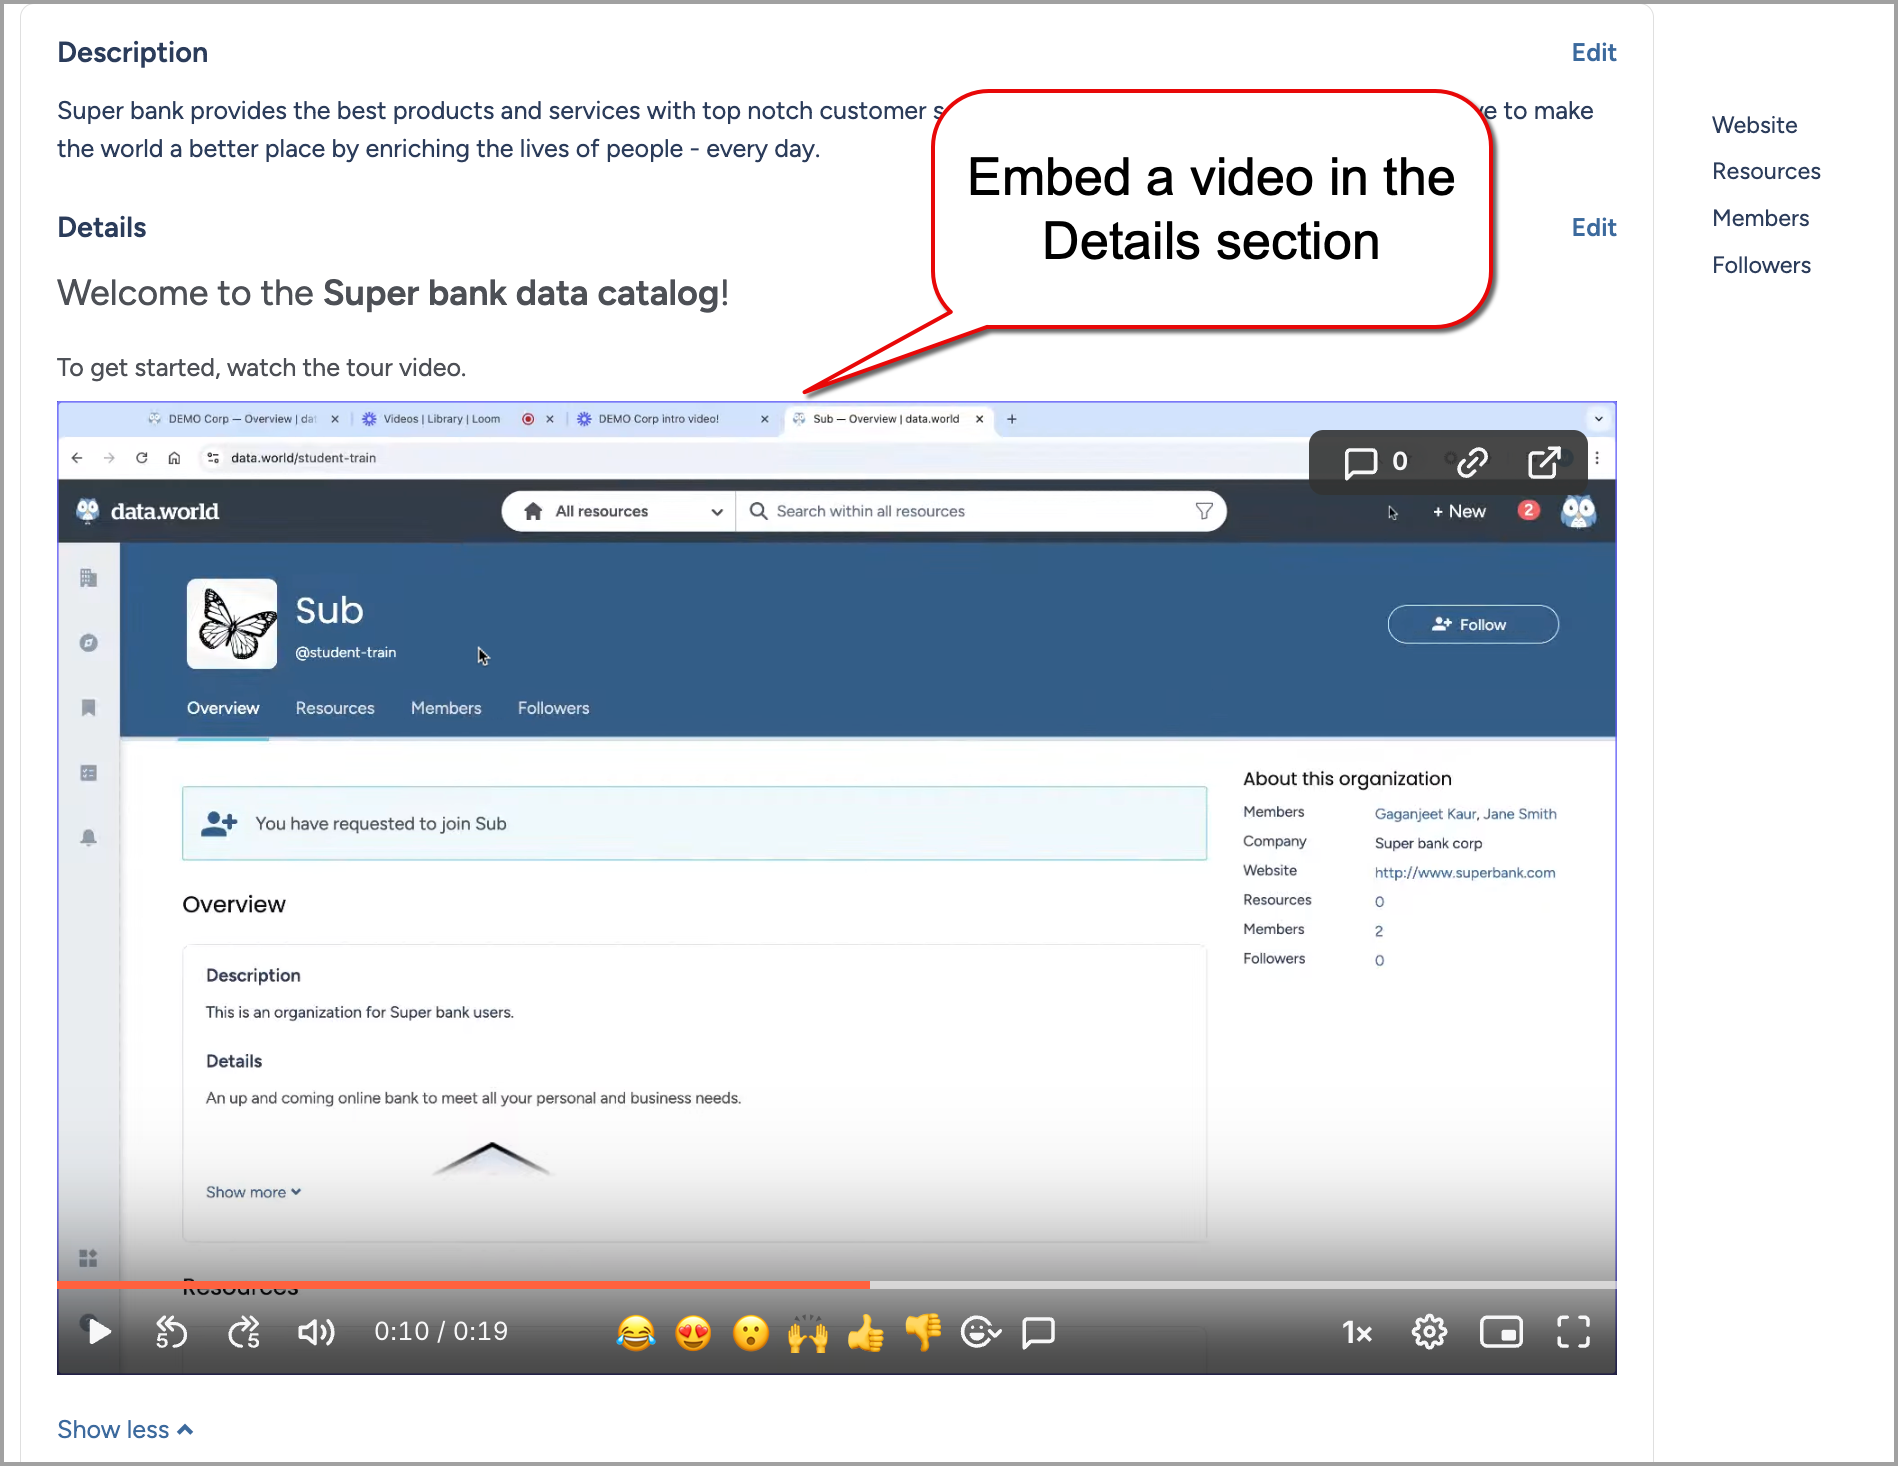
To enhance the organization information, go to the Home page, click Edit in the Details section, and add more details. Use Markdown to format content and enrich the experience. For example, use the embed content feature to include an introductory video for users.
Next, from the Connection Manager section, you can manage the organization-level connections to external sources of data. For details, see this documentation.
Next, from the Metadata collectors section, you can view the collector run summary and generate the YAML files and CLI commands for collectors using the Collectors wizard. For details, see Managing configurations for collectors.
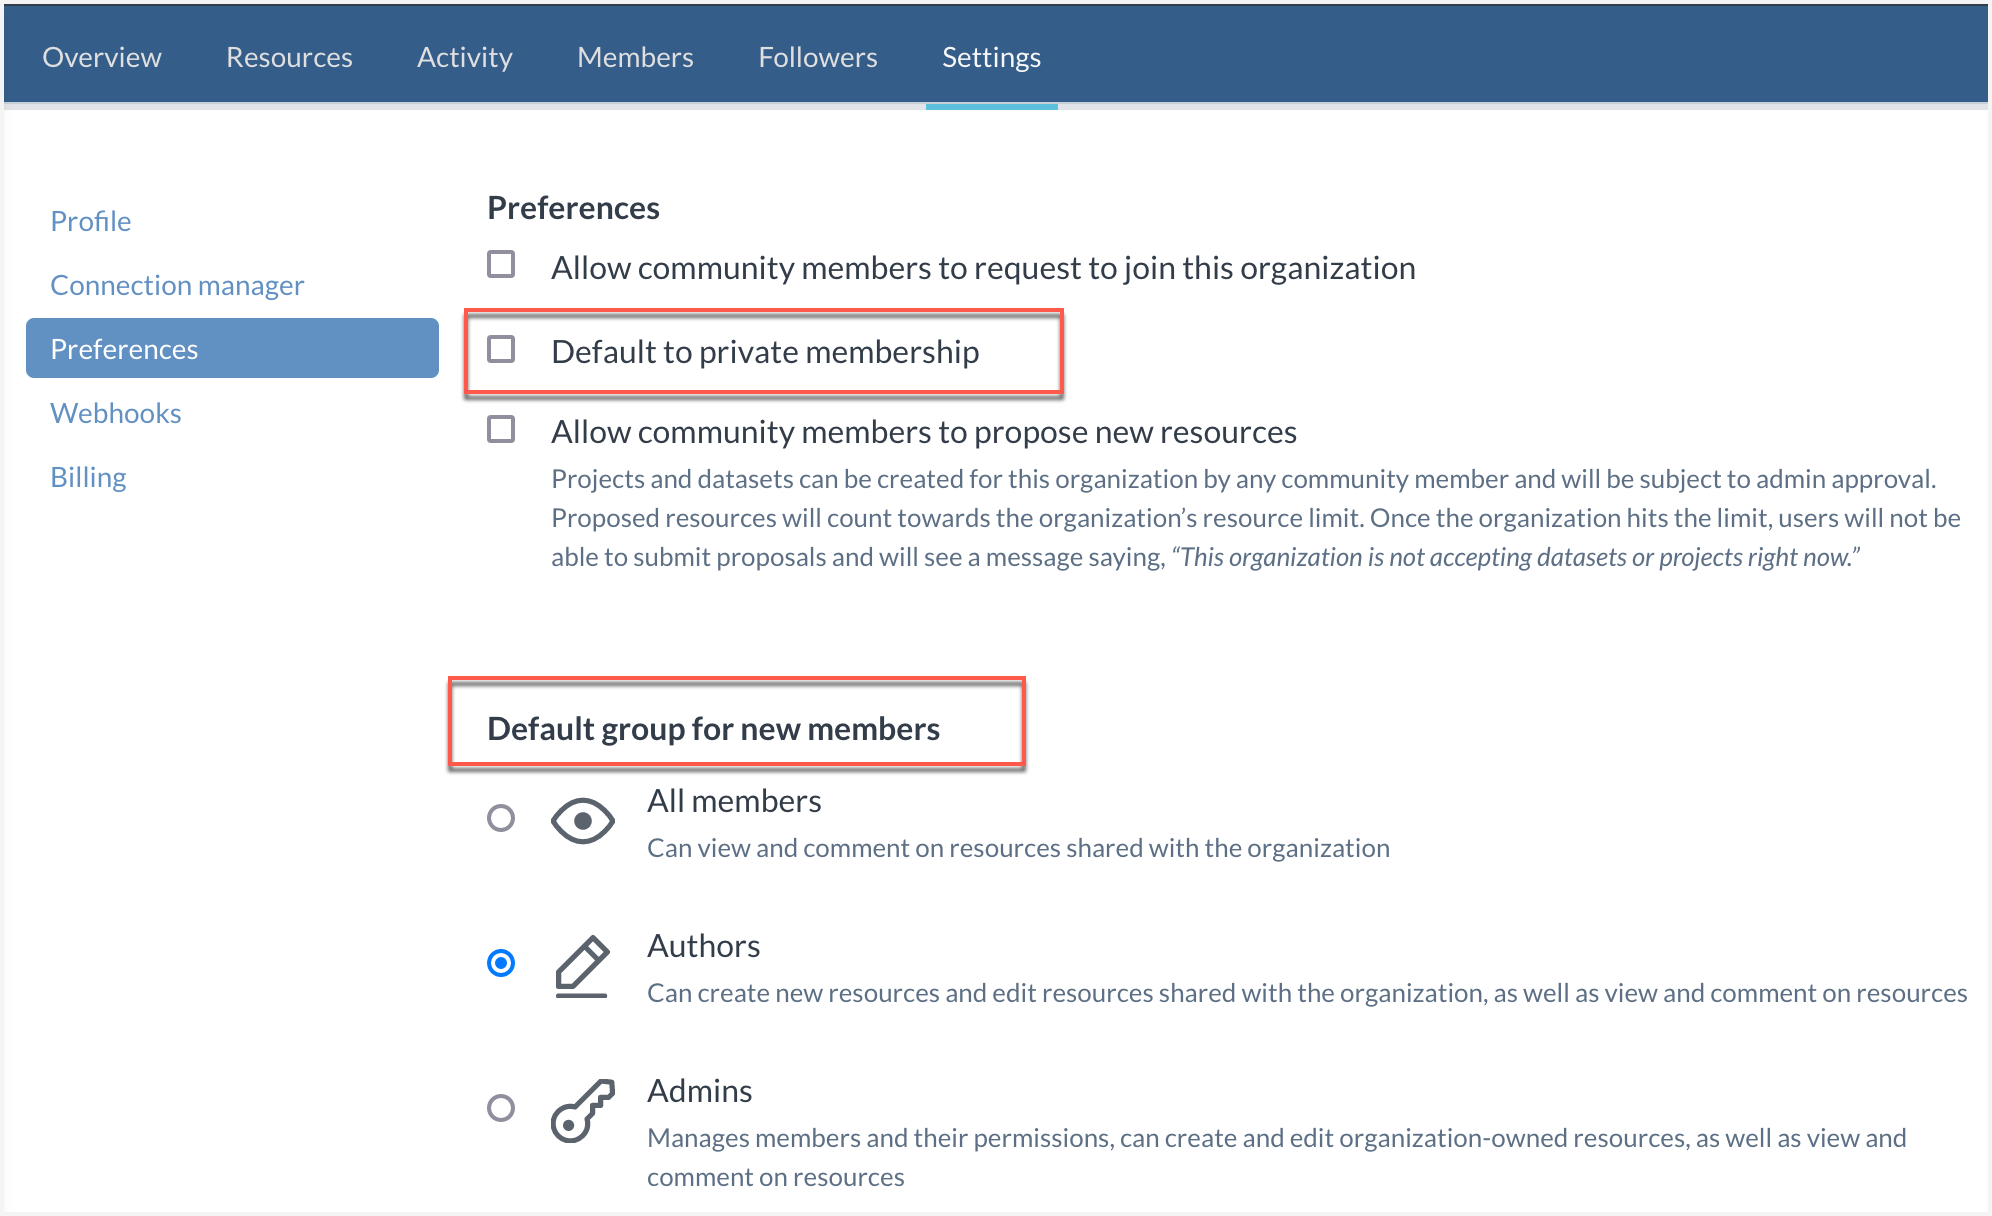
Next, from the Preferences section, set the following:
Define how non-members of the organizations can interact with the organization. For details, see Allowing community members to join organizations.
Default to private membership: Select this option to default user memberships to private mode. This ensures that other users on the community cannot see what all organizations the user belongs to.
Allow community members to propose new resources: Select this option to allow members to propose new datasets and projects to the organization.
Default group for new members: Select the default group in which new members of the organization should be added. The default selection is Authors. You can select from: All Members, Authors, Admins. For details about these user groups, see About user groups.
Next, from the Webhooks section, configure the webhooks for the organization.
Next, from the Security section, configure SSO for the organization. For details, see Setting Up SAML with Just-In-Time (JIT) Provisioning for data.world.