Creating organization-specific Metadata Profiles (CTK)
This topic provides a walk-through for creating organization-specific Metadata Profiles by targeting them to specific destination organizations. The process outlines steps to create, configure, and deploy these profiles, ensuring changes are visible only in targeted environments.
Why would I do this?
Creating organization-specific Metadata Profiles provides precise control over metadata distribution, ensuring changes are applied only where intended. This minimizes risks, improves development workflows, and maintains the stability of production environments. This approach offers the following advantages.
Advantage | Description |
|---|---|
Isolated development | Make metadata changes in the development Sandbox environment without impacting the Main production organization. |
Controlled publishing | Deploy changes incrementally, ensuring that only finalized configurations reach production while others remain in development. |
STEP 1: Locating your destination organization ID
Before creating an organization-specific Metadata Profile, it is crucial to identify the ID of your target organization. This ID ensures accurate linking and configuration tailored to your organization.
To locate your organization ID:
Go to the Catalog experience of your organization.
Locate the Organization ID in the address bar. For example, 8bank-catalog-sandbox.
Use this organization ID when creating your organization-specific Metadata Profile collection.

STEP 2: Establishing your Metadata Profile collection
Note
Perform this task in the Catalog Configuration organization.
After identifying your organization ID, create a Metadata Profile collection to manage and deploy metadata changes specific to your organization.
To create your Metadata Profile collection:
In the Catalog experience, go to the Collections page.
Click the New button. The Create a new resource page opens.
On the Create a new resource page, select Metadata profile type. Click Continue.
The Create a new Collection page opens.
On the Create a new Collection page, in the Configure fields tab, set the following:
Title: Provide the Organization ID noted in Step 1. It must match exactly.
Description: (Optional) Provide a brief description. For example, MDP resources in this collection will be synced to 8bank-catalog-sandbox.
Click Continue. The creation page is closed, and you are taken to your new collection.
STEP 3: Adding metadata resources to your collection
Note
Perform this task in the Catalog Configuration organization.
To populate metadata resources to your collection:
Once your organization-specific collection is created, you can start adding metadata resources to it. These resources can include custom fields, sections, or any metadata configurations you wish to apply.
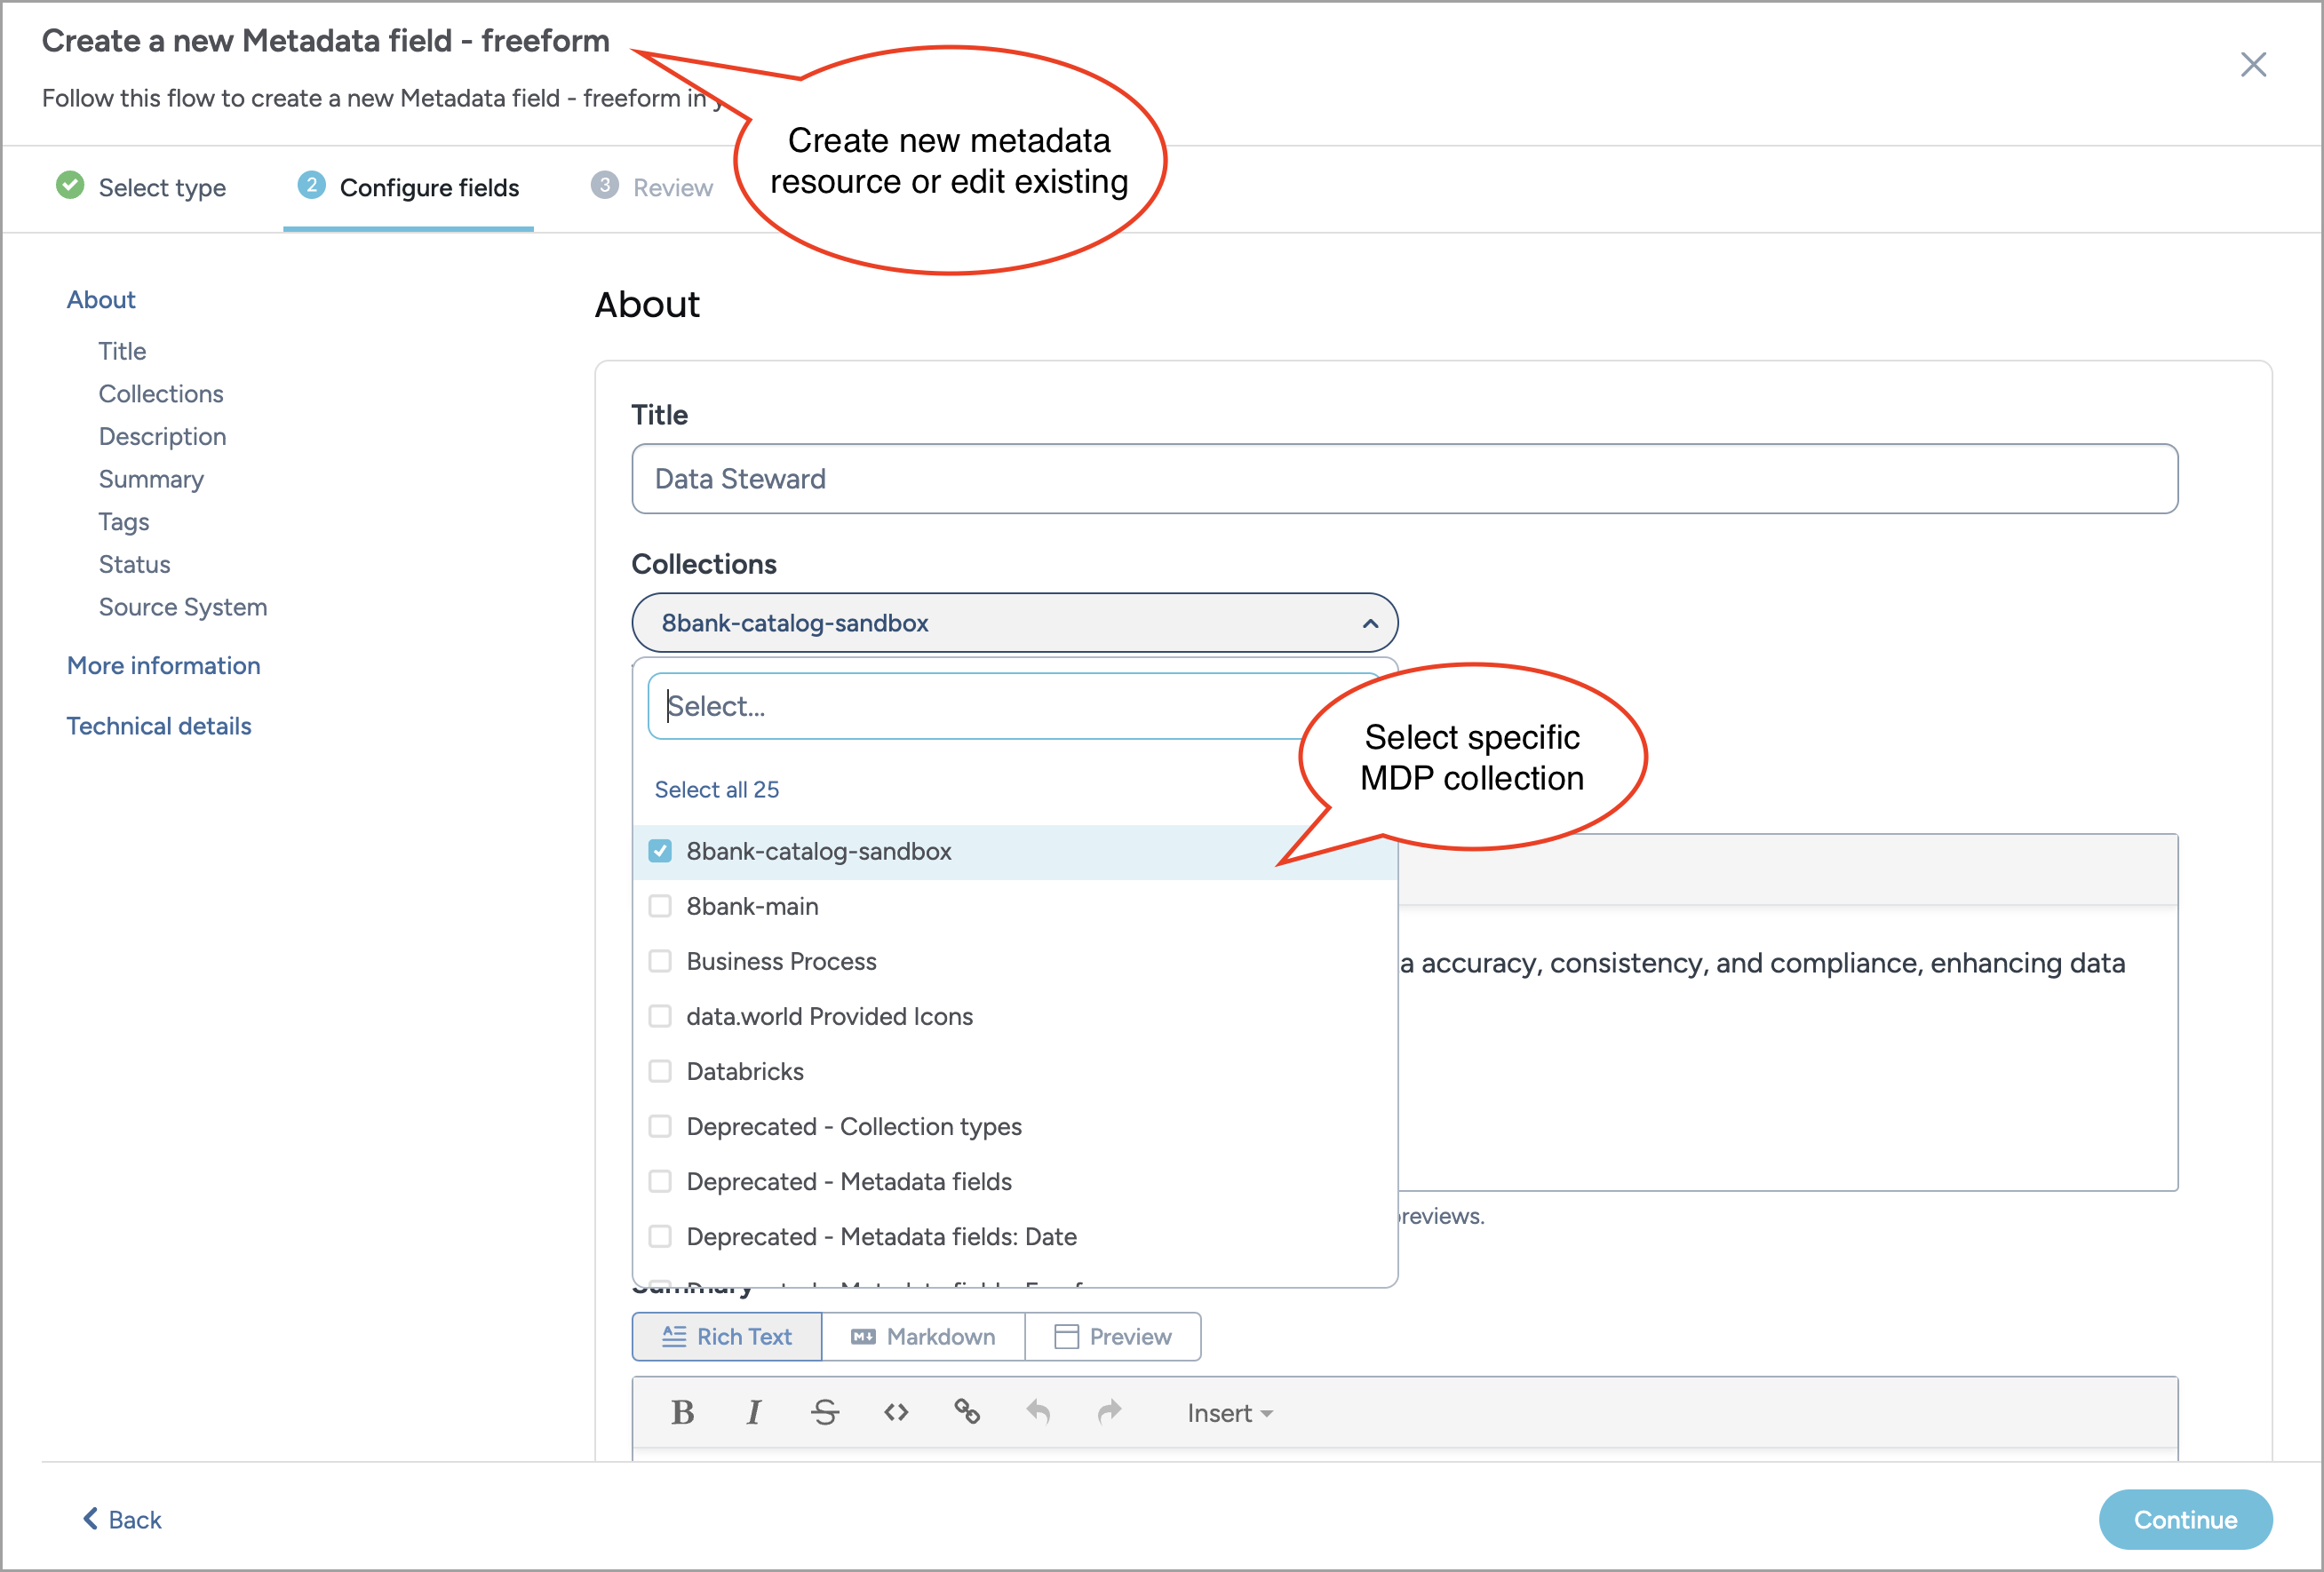
When creating a new resource, select the organization-specific collection instead of the default Metadata Profile collection. This ensures the resource is only included in the designated destination organization.

For metadata configurations that should be applied across all organizations, continue to use the default Metadata Profile collection.
STEP 4: Publishing your Metadata Profile changes
To publish your changes:
After setting up your organization-specific Metadata Profile collection, the final step is to sync it. This ensures that your metadata changes are published to the designated organization.
For detailed instructions on syncing to Sandbox or Main, see the Publishing changes page and follow the steps respective to your destination organization.
View the results
Note
Perform this task in the Catalog Sandbox/Main organization.
Following this process, your metadata changes should be applied exclusively to the designated organization. For example, changes directed to a Sandbox environment will only appear there, leaving the Main organization unaffected. This targeted approach ensures the stability of your production environment while providing a safe space for development and testing.
To verify the results:
Navigate to your Sandbox organization: Confirm that the newly implemented changes are visible, reflecting updates made to the organization-specific Metadata Profile.
Check your Main organization: Ensure that none of the changes applied to the Sandbox are visible, maintaining the integrity of your production environment.