Assign custom icons for custom resources, collections, & business glossary types (CTK)
Why would I do this?
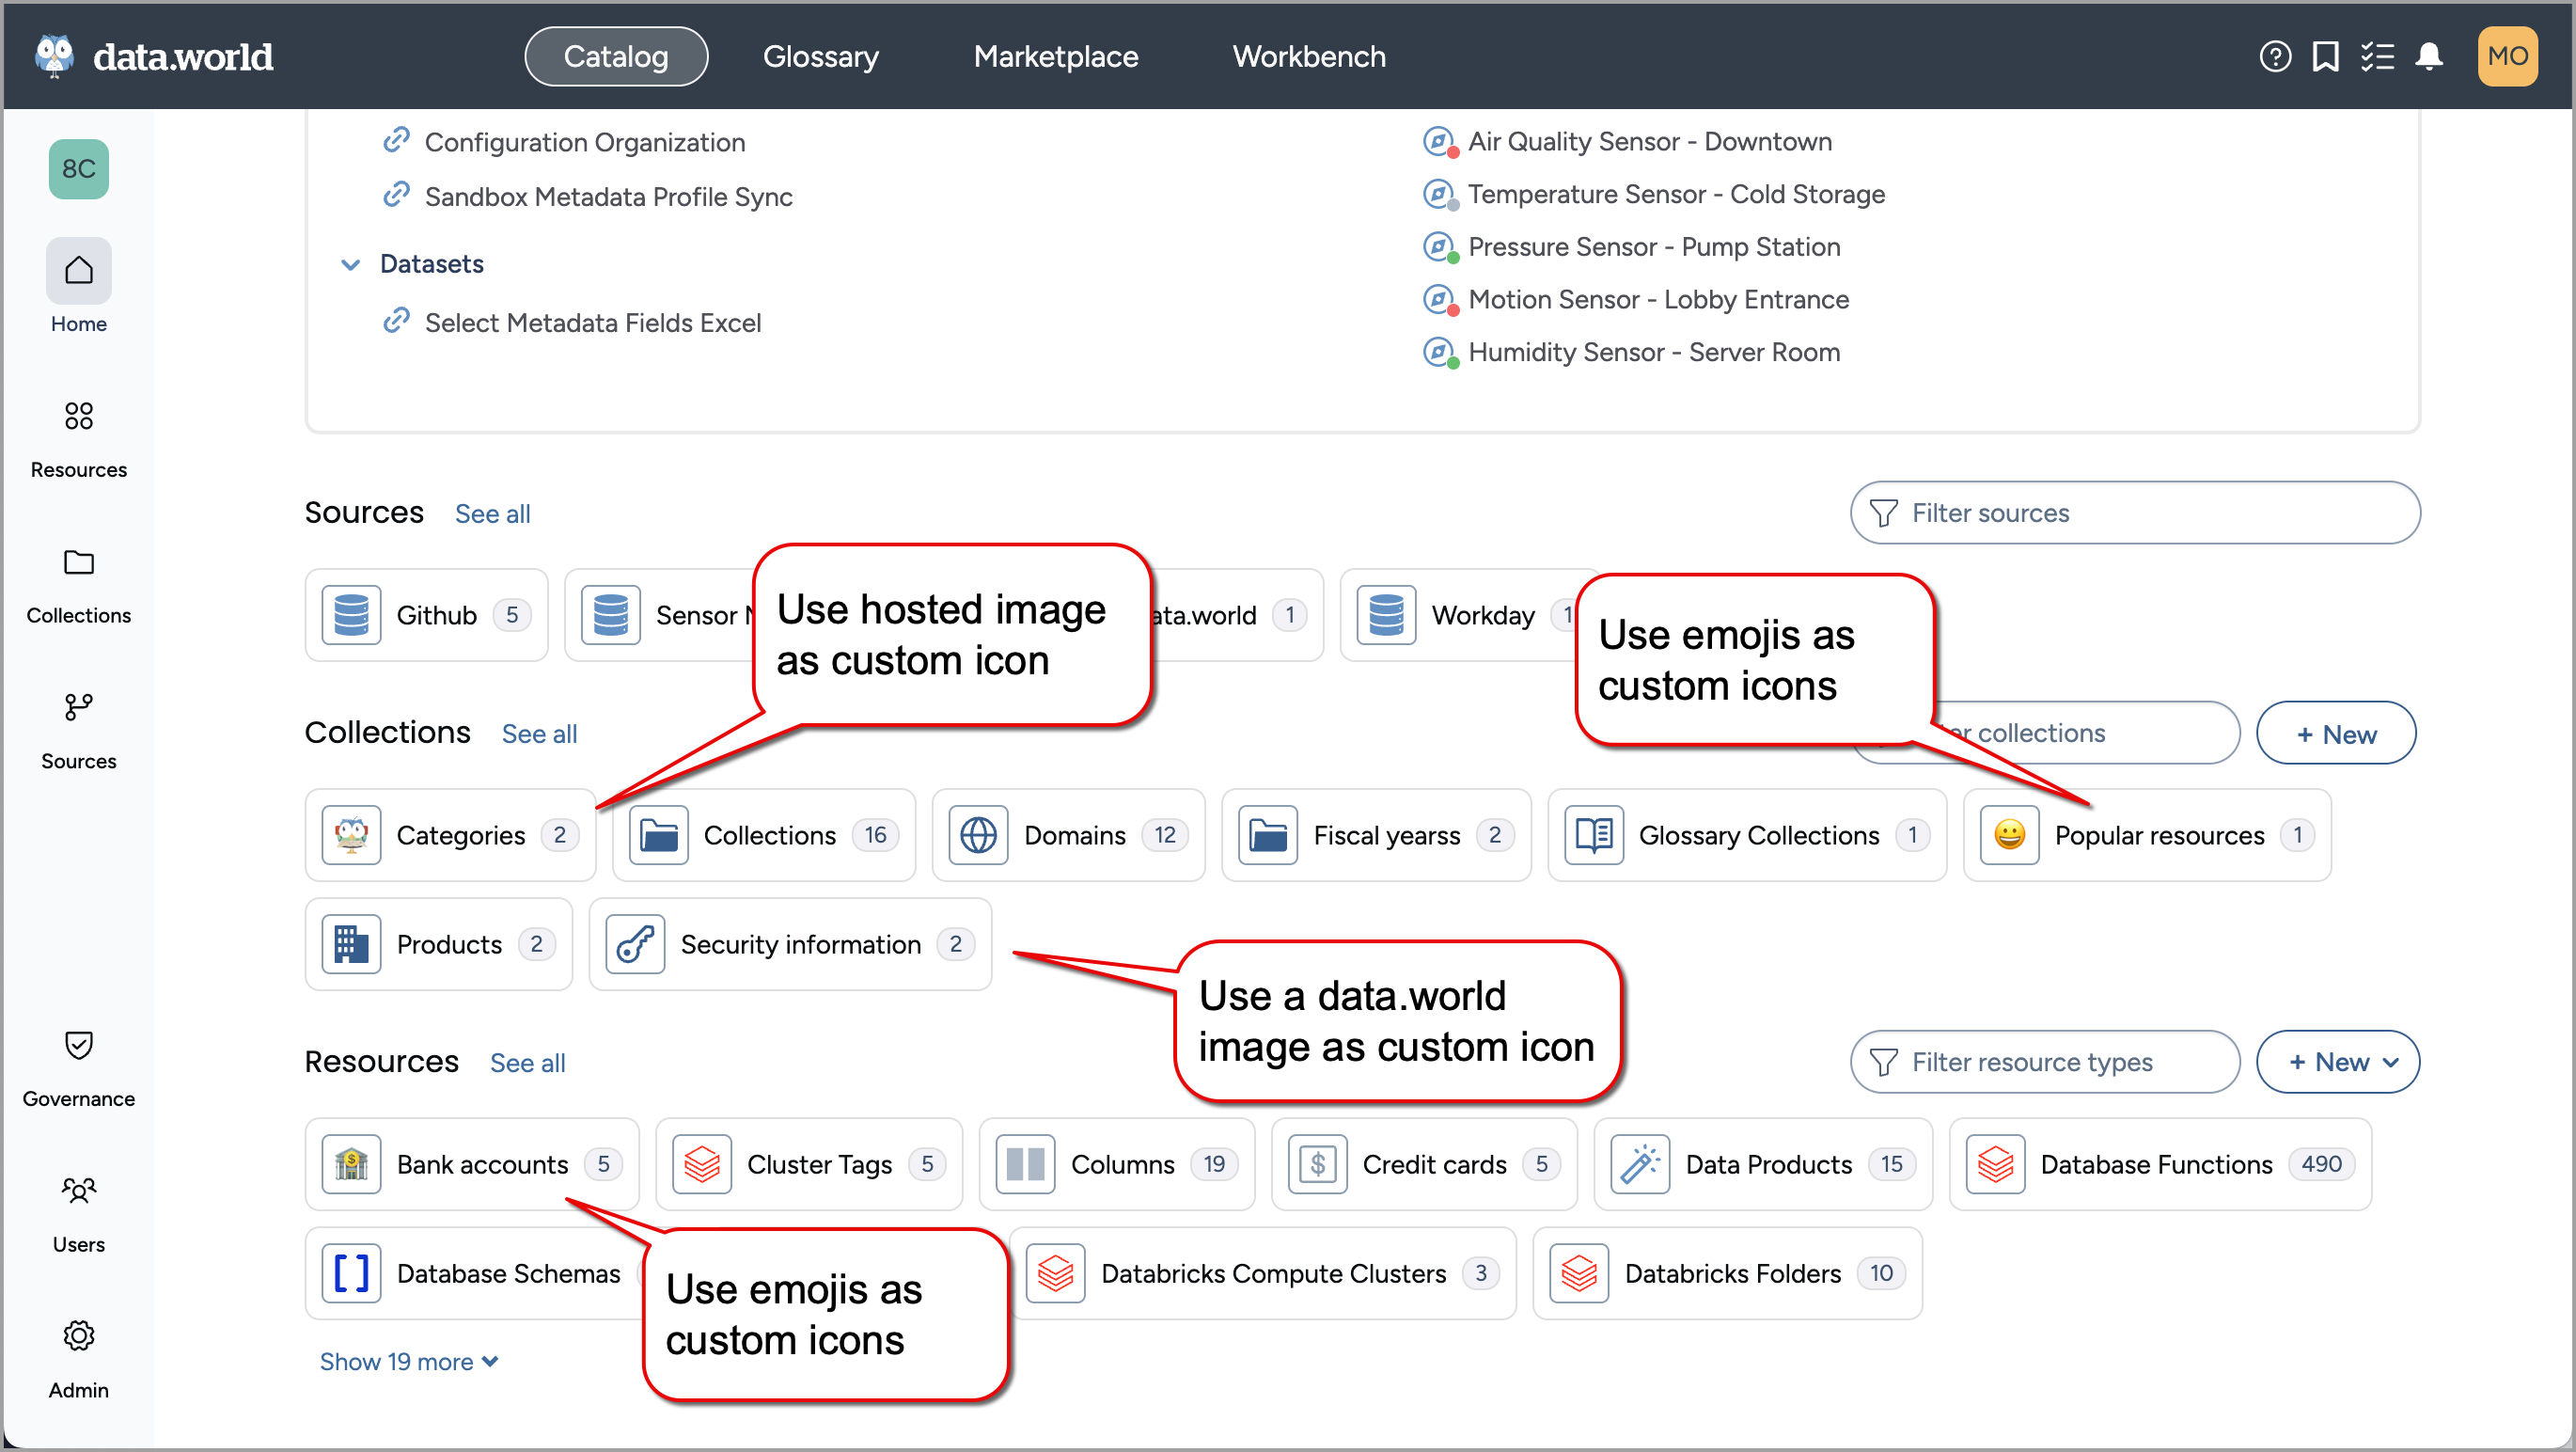
Use this feature to assign custom icons to custom resources, collections, and business glossary types. This helps you create a richer UI experience by designating your business specific or emoji icons to the different types of resources in your catalog.
You can achieve this by simply using icons available in the data.world icon library, emoji icons, or your special business icons hosted on the web.
STEP 1: Plan your custom icons
Plan the resources you want to use the custom icons
You can use custom icons for:
Custom resources
Business glossary types
Collection types
Types of icons
Icon types | Resource | Details |
|---|---|---|
Icons from data.world icon library | Standard icons shared by data.world. These are pre-created and ready for use, so there is no need to configure custom icons for them. | |
Emoji icons | You can use any emoji icon available on the web. | Emoji can be specified using emoji icons (for example, 🇬🇧, 😀, ↑) |
Images hosted on the web | You can host an image on the web and use that in the catalog. | Use an image that has an aspect ratio of 1:1 (square). The largest display allowed is 260 by 260 pixels so an image of that size is recommended. Images that are a lot smaller may not display correctly and can come out pixelated. |
STEP 2: Create an icon and assign to custom resource, business glossary type, or collection type
In the Catalog experience, go to the Resources page and click the New button.
On the Create a new resource page, in the Select type tab, select Resource Icon. Click the Continue to configure fields button.
The Create a new Resource Icon page opens.
In the Configure fields tab, set the following in the About section.
In the Title field, provide a name of the icon you want to add. For example, let us add an icon called Smiley.
From the Collections dropdown, select the Metadata profile collection.
In the Configure fields tab, set the following in the More information section.
Collection types: Select a custom collection type to which you want to assign the icon.
Resource types: Select a custom resource or business glossary type to which you want to assign the icon.
Use data.world icon: From the dropdown list, select an available data.world icon. You can see the details of the icons here: https://data.world/ddw-libraries. These icons are pre-created in the catalog confiration organization and are ready for use, so you can choose to use them without configuring custom icons for them.
Use emoji glyph: Simply add the emoji icon, like 🇬🇧, 😀, ↑, or any other icon.
Specify icon by URL: Host an image on your preferred location and make sure it is accessible on the internet without any login. Then, provide the URL for the icon. For example: https://assets.data.world/assets/wrench-sparkle.380853d6d2d6ead6f656d00a39eb3788.png
If you set the value for more than one field, the icon will be created using the following priority:
data.world provided icon
Emoji glyph icon
Icon hosted on the web
Note
Image size recommendations
Use an image that has an aspect ratio of 1:1 (square). The largest display allowed is 260 by 260 pixels so an image of that size is recommended. Images that are a lot smaller may not display correctly and can come out pixelated.
Click Continue to review Resource Icon.
In the Review Resource Icon tab, check the configuration details for any possible errors before saving it. If adjustments are needed, click Back to edit the configuration.
Click Create Resource Icon. The creation page is closed and you are taken to your new Resource Icon page.
Publish the changes
See: Publishing changes.
View the results
In the Catalog Sandbox organization, find or create the resource for which you assigned the custom icon.
You will notice that the custom icons are assigned to the resource instead of the generic icon.
