Metadata Freshness Review Automation
Danger
data.world University!
Check out our Metadata freshness review automation and Set up a Metadata freshness review automation videos!
About the automation
Important
You must run the Metadata Freshness Refresh automation before running this automation.
This automation enables Data Stewards to schedule regular metadata reviews, effectively enhancing the freshness of resource collections. The automation process alleviates uncertainties by ensuring consistent data updates.
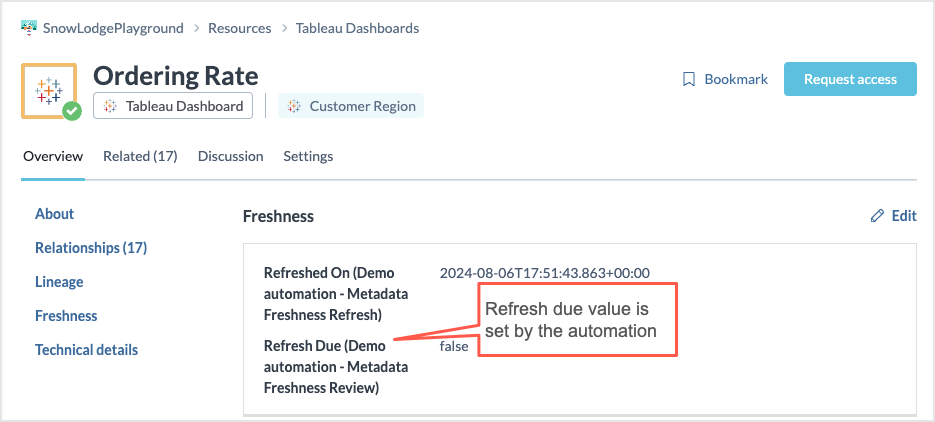
The automation examines the Refreshed On field that represents the last time the resource was refreshed and establishes a shelf life in days. The value in the Refreshed On field is set by the Metadata Freshness Refresh automation. Based on this shelf life, it sets the Refresh Due field:
True means the resource is no longer fresh and may need attention.
False means the resource is still considered fresh within its shelf life.
Upon completion, the automation generates a report, providing users with comprehensive insights into the results.

Important
Only Organization administrators can view, configure, and run automations.
Configuring the automation
To configure the automation:
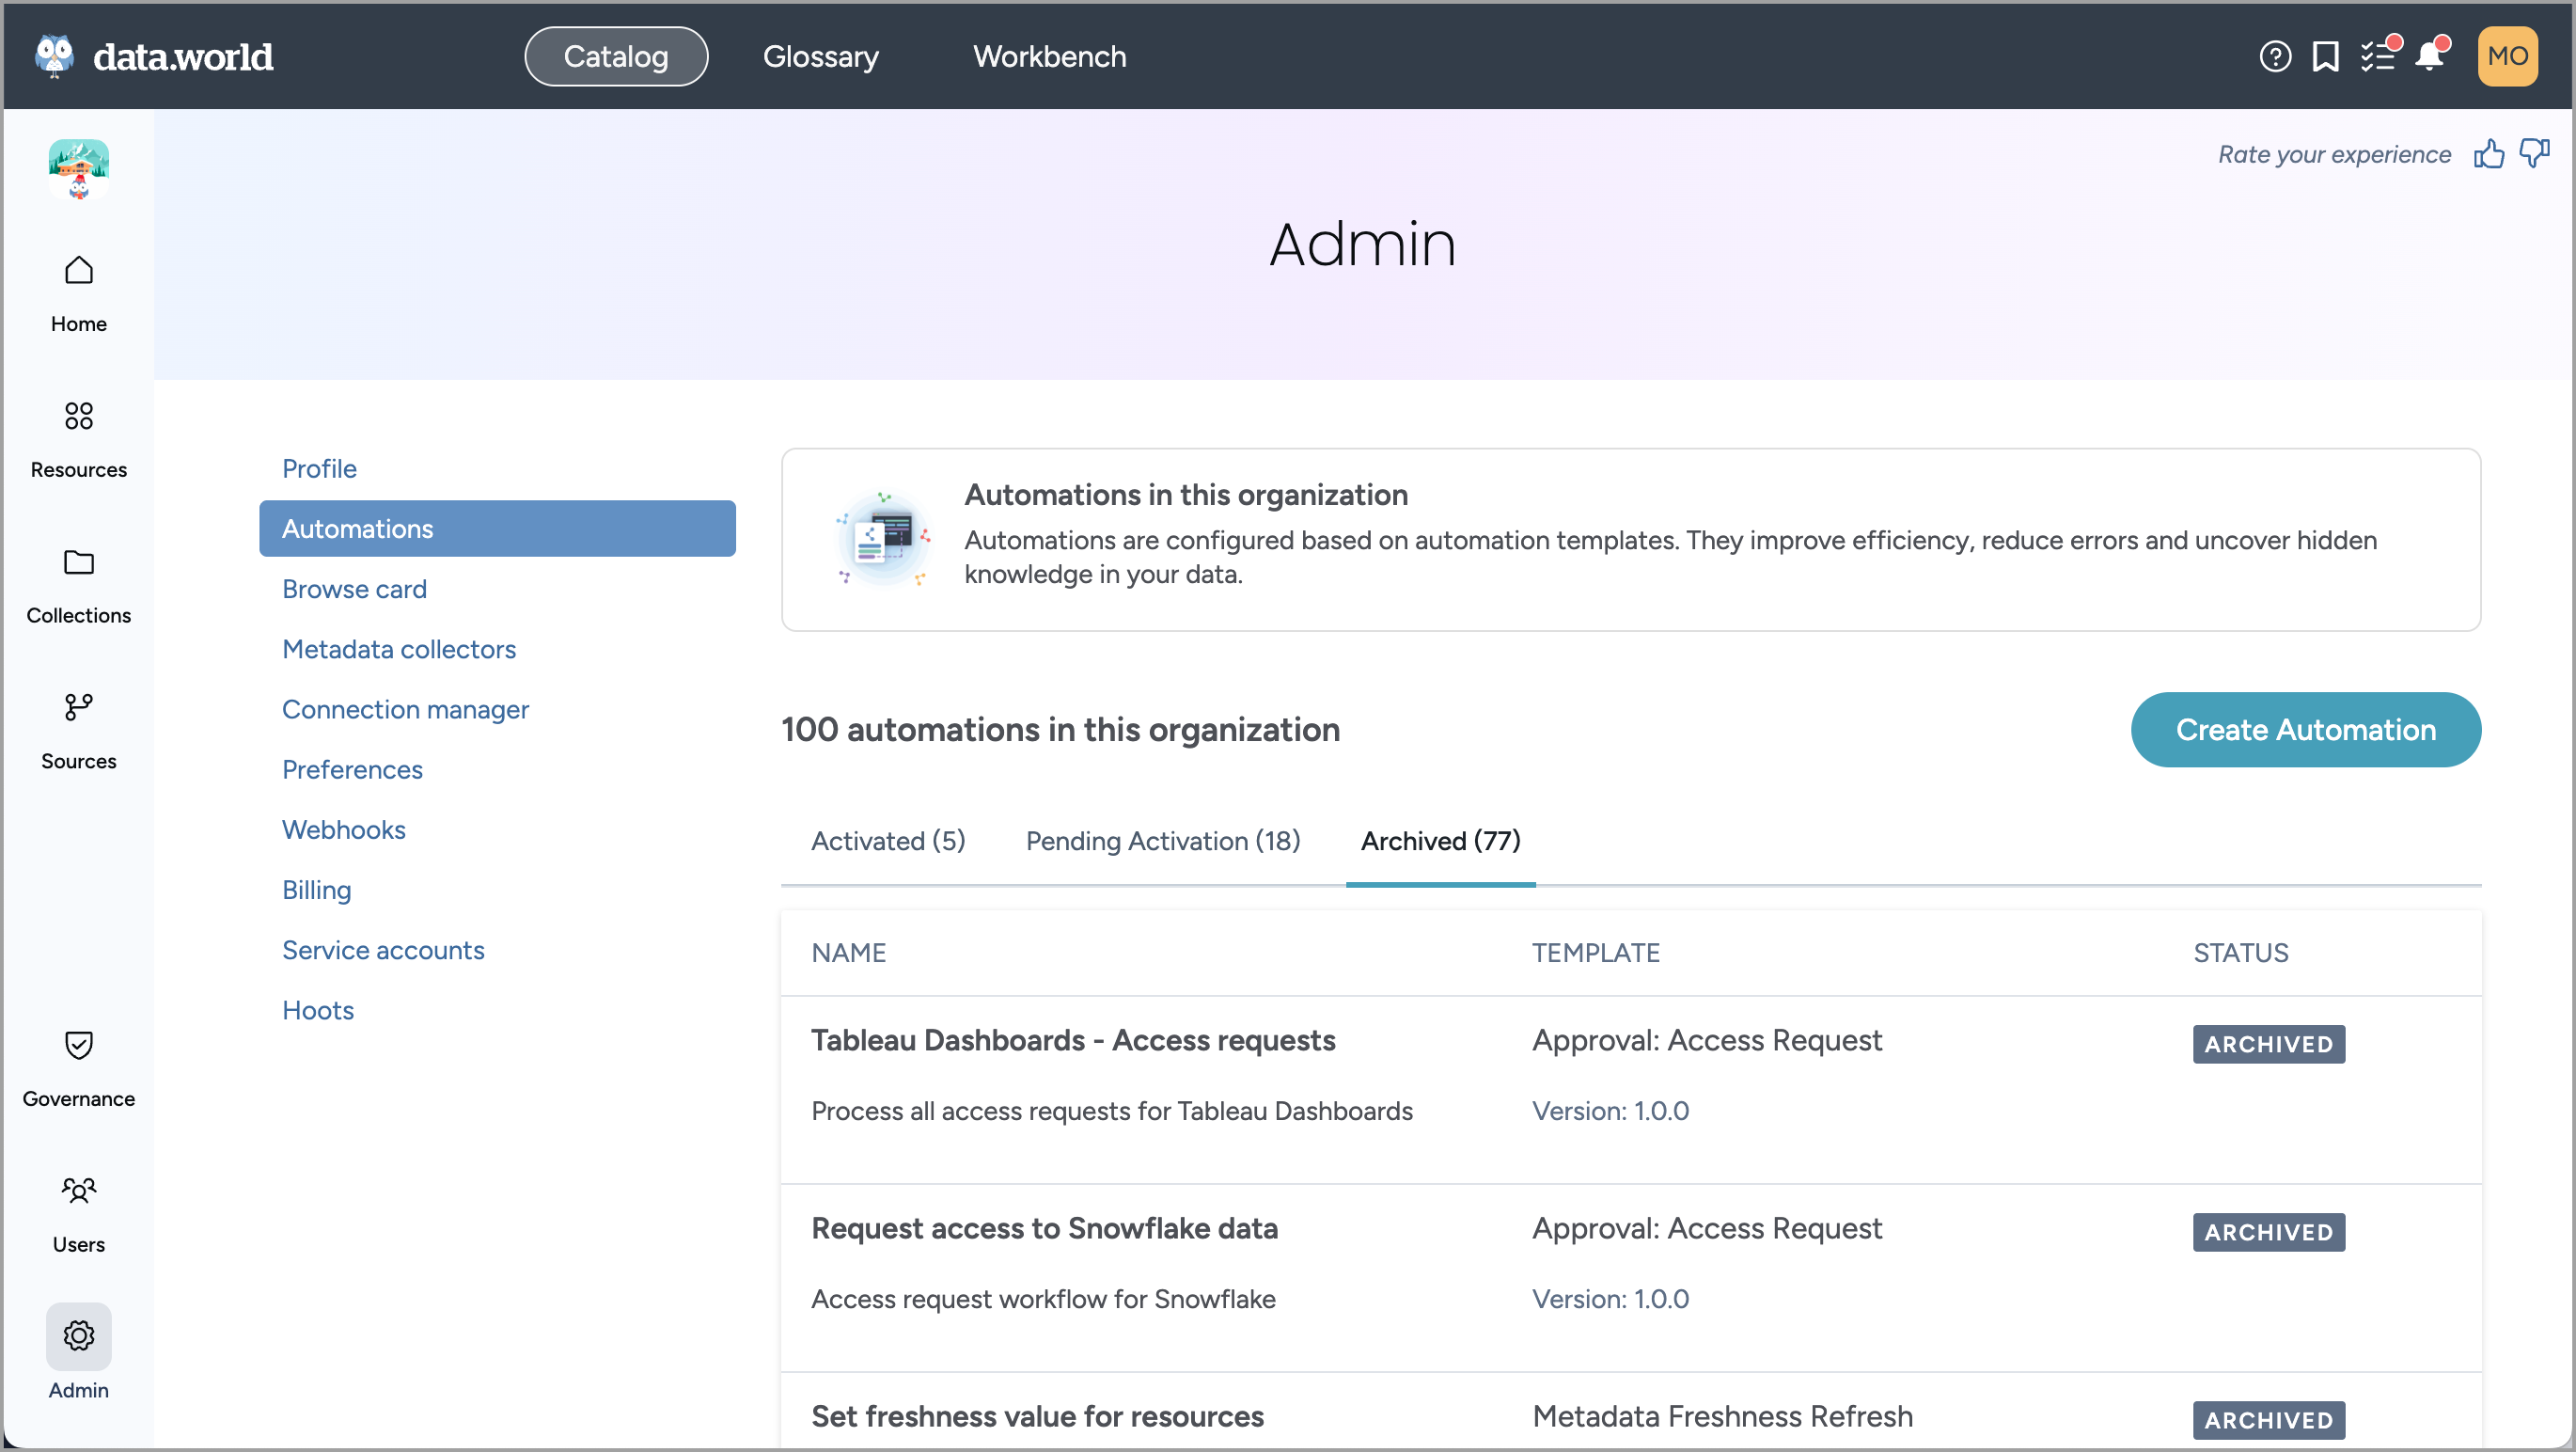
In the Catalog experience, go to the Admin page > Automations section.
Click Create Automation. Locate the Metadata Freshness Review template. Click the Configure button.
In the Configure Metadata Freshness Review window, on the first screen set the following and click Next.
Automation name: A name for the automation.
Automation description: A brief description.
In the Configure Metadata Freshness Review window, on the next screen set the following and click Next.
Collection: Select the collection for the automation.
Resource types: Select the resource types the automation should check.
Metadata Fields: Select the metadata field Refreshed On that represents the last time the resource was refreshed. This field is created by the Metadata Freshness Refresh automation.
Shelf Life (Days): Set the number of days that a resource should be considered fresh.
On the last screen, set a schedule for the automation. You can set it to run daily, weekly, or monthly at a specific time. After activation, the automation will execute on the scheduled day and time (within a 30-minute window of the scheduled time). Click Save and continue.
Enabling automations
Once you have finished setting up the automation, the next step is to turn it on. This action will enable the automation to run.
To enable an automation:
In the Catalog experience, go to the Admin page > Automations section.
In the Pending Activation tab, locate the automation you want to enable and open it by clicking it.
Click the Enable automation button. This option is available only for automations that have never been enabled. If you enable an automation and then disable it, it cannot be enabled again.
Running the automation
Important
Automations with a configured schedule will automatically run at the specified time. However, you can also choose to run them manually if needed.
To run the automation:
In Catalog experience, go to the Admin page > Automations section.
In the Automation section, locate the automation you want to run. Open the Automation details page.
Click the Run button.
After the automation is done running, a report is generated and made available in the Project created for the automation.
The automation also sets the Refresh Due field value on the resources that were checked by the automation.
Viewing the report
To view the automation run report:
In the Workbench experience, locate the Project that contains the report for the automation.
Each time the automation runs, it adds a new report to the same project.
The following details are captured by the automation. If no resources require refreshing at the time of the run, the report displays No data available.
A summary count of resources where Refresh Due is true.
A link to the full query, which can be opened and explored in the workspace.
Note
The report does not include any tags, statuses, or resource-level detail — it only reflects whether any resource exceeded its shelf life.

Viewing automation run history
Important
If the automation history is missing in the History tab, simply edit and resave the automation. This action triggers a version upgrade for the automation, prompting the system to begin capturing the automation history.
To view the automation run history:
In Catalog experience, go to the Admin page > Automations section.
From the list of Activated or Archived automations, select the automation for which you want to view the automation history.
On the History tab of the automation, you can view the following details.
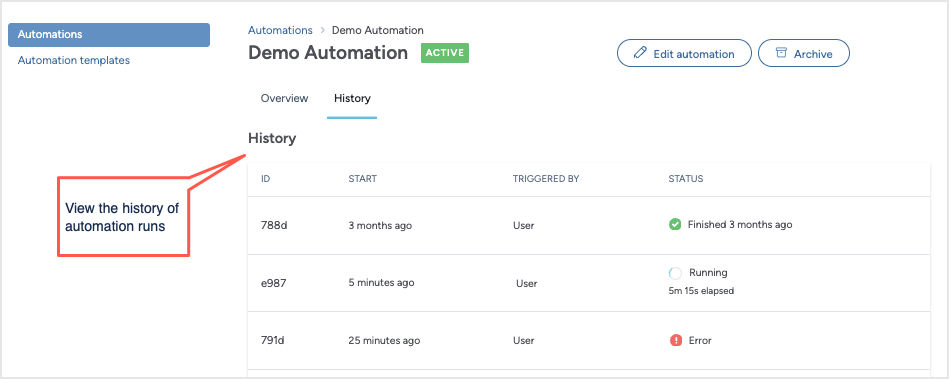 Table 1.
Item
Details
ID
A unique identifier for the automation run.
Start
Relative time when the automation run was started. For example, 5 minutes ago, 3 months ago, etc. Hover over the field value to see the exact date and time.
Triggered by
Recorded every time the automation runs.
Possible values:
Scheduled: Automation ran on the schedule day and time.
User: A user clicks the Run automation button manually.
Status
The current status of the automation run.
Possible values:
Running: The automation is currently running.
Success: The automation completed successfully.
Error: An error occurred while running the automation.
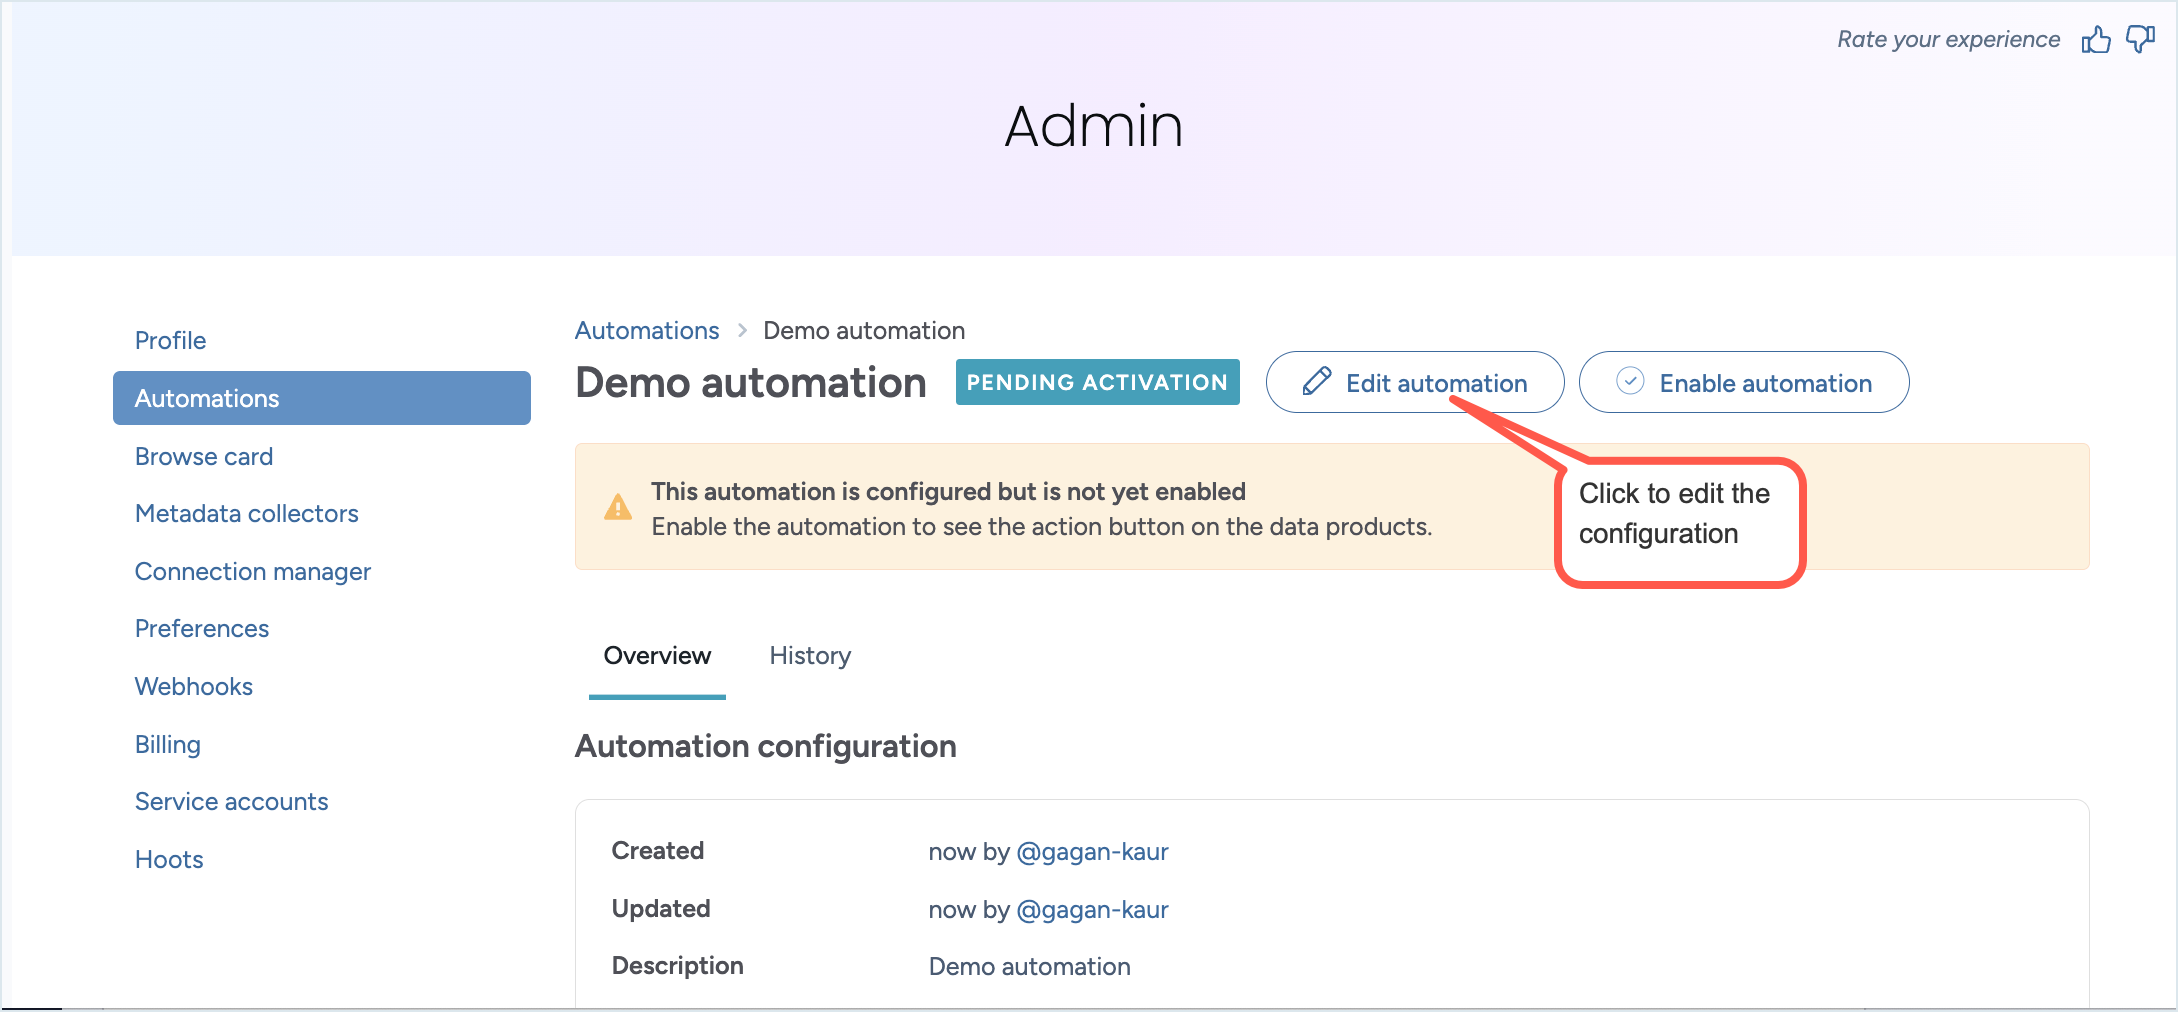
Editing automations
To edit an automation:
In the Catalog experience, go to the Admin page > Automations section.
In the Automations section, from the Activated or Pending Activation tabs, select the automation you want to edit. Note that Archived automations cannot be edited.
Click the Edit Automations button. Follow the wizard to make any necessary adjustments to the automation configuration. The new configurations will take effect the next time the automation runs.
Duplicating automations
The duplication feature lets you copy existing automations with all their configurations intact, streamlining the setup process for similar automation workflows. Click Duplicate on any automation to instantly create a new automation with the exact same configuration — eliminating repetitive manual setup and reducing configuration errors. This allows catalog administrators who need to set up multiple automations at once or create variations of existing automation configurations without starting from scratch.
To duplicate an automation:
Browse to the Admin page > Automations section.
In the Activated or Pending Activation tab, locate the automation you want to duplicate and open it by clicking it.
Important
Archived automations cannot be duplicated.
Click the Duplicate button.
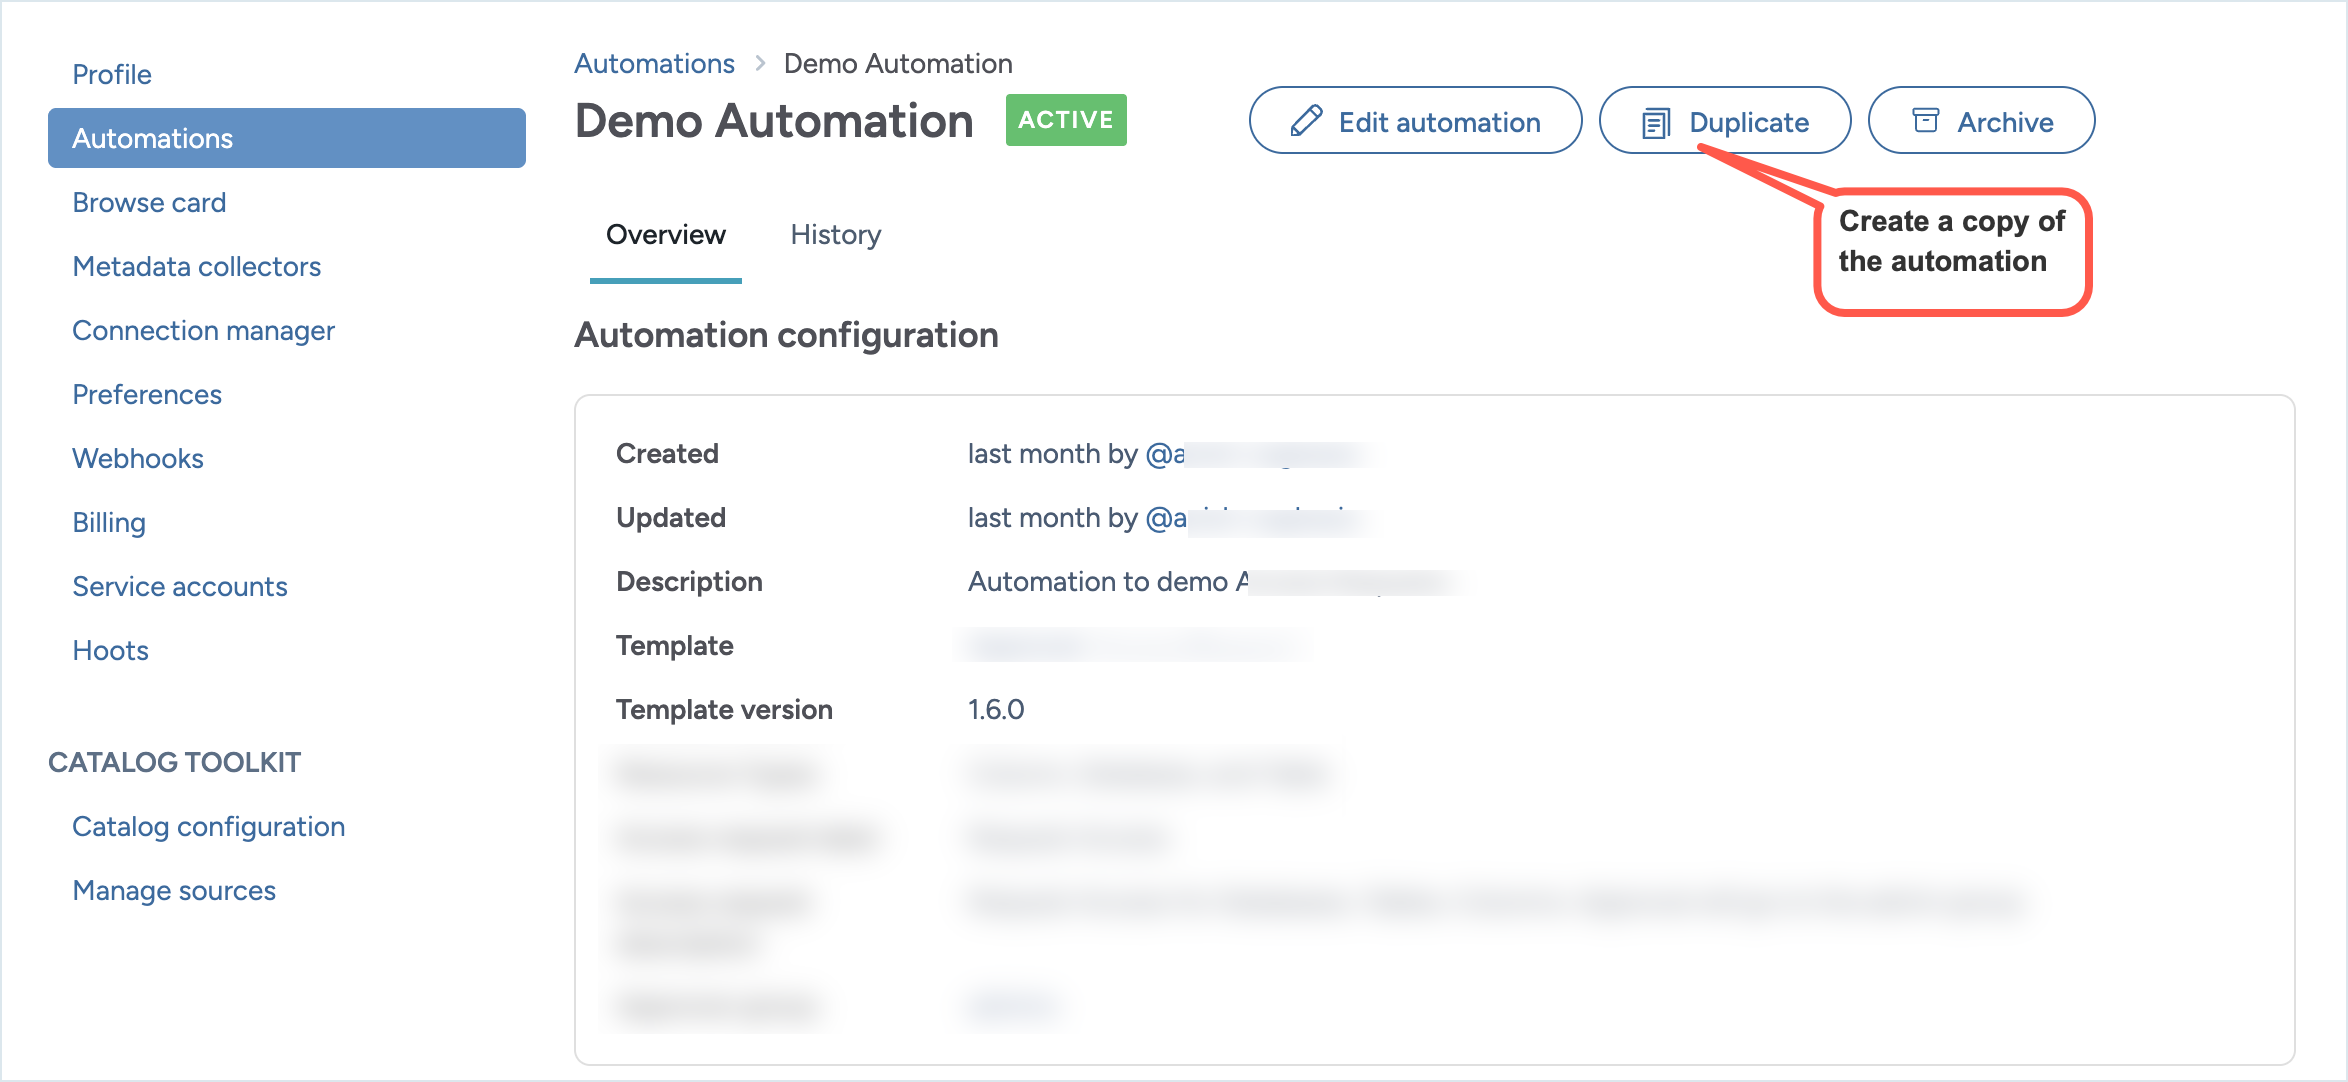
A copy of the automation is created. Rename the automation and other properties to meet your needs.
When an automation is duplicated, it is not in active state. You must enable the automation to start using it.
Archiving automations
Important
Once you archive an automation it cannot be enabled again. Only active automations can be archived.
To archive an automation:
In the Catalog experience, go to the Admin page > Automations section.
From the Activated tab, locate the automation you want to archive and open it.
Click the Archive automation link.The archived automation is moved to the Archived tab.